Canva Review: What is it, Pros and Cons, and a Lot More
Are you looking for a new graphic design tool? Would you like to read a detailed Canva review?
Canva is probably the most popular online graphic design software, with over 30 million users and a $6 billion valuation.
I discovered Canva around the time it launched. It made a lot of waves, so I checked it out. If I am honest, back then, I didn’t like it.
Before Canva came about, I used a combination of Adobe Illustrator, Adobe Photoshop, and PicMonkey for designing.
I got used to them and felt that Canva was harder to use when compared to PicMonkey. Canva required a learning curve and didn’t have all the features I wanted.
I ignored it. But I experimented with it again about two or three years ago and liked it so much that I replaced PicMonkey with it in my tools trio. Canva had introduced a ton of features that made it easier to use and provided support to do more.
I’ll discuss Canva in detail, and share what I like and dislike about it, who it’s best suited for, its features, and walk you through how to design an image with it.
Let’s get started.
What is Canva?
Canva is a complete design tool for anyone who isn’t an experienced designer. Most people see it as an image design tool, but it is much more. You can design everything from printables to PDFs to invoices to flyers to infographics to websites.
Depending on your experience, you can either start from scratch or with their templates.
It has a web version and apps for mobile phones and desktops.
Who is Canva best suited for?
Canva is best suited for small business owners, online entrepreneurs, and marketers who want to design things quickly.
To design sophisticated visuals, a tool such as Photoshop is ideal. But to use it well can take a lot of time to learn its hundreds of features and get familiar with the software, and it’s best to have a good background in design, too.
Photoshop is also a heavy-duty software. You might have to invest in a better and more expensive computer.
And Photoshop isn’t the best software for designing multi-page documents for print and digital; you need to get another tool like InDesign. It will cost you extra money and time as that’s a sophisticated tool too.
But with Canva, you can do all that with one drag-and-drop tool. It’s also easier to use and free. There’s even an affordable paid version that costs $12.95 per month.
Free vs. Pro vs. Enterprise Plans
There are three plans: Free, Pro ($9.95 per user per month, billed yearly), and Enterprise ($30 per user per month, billed yearly).
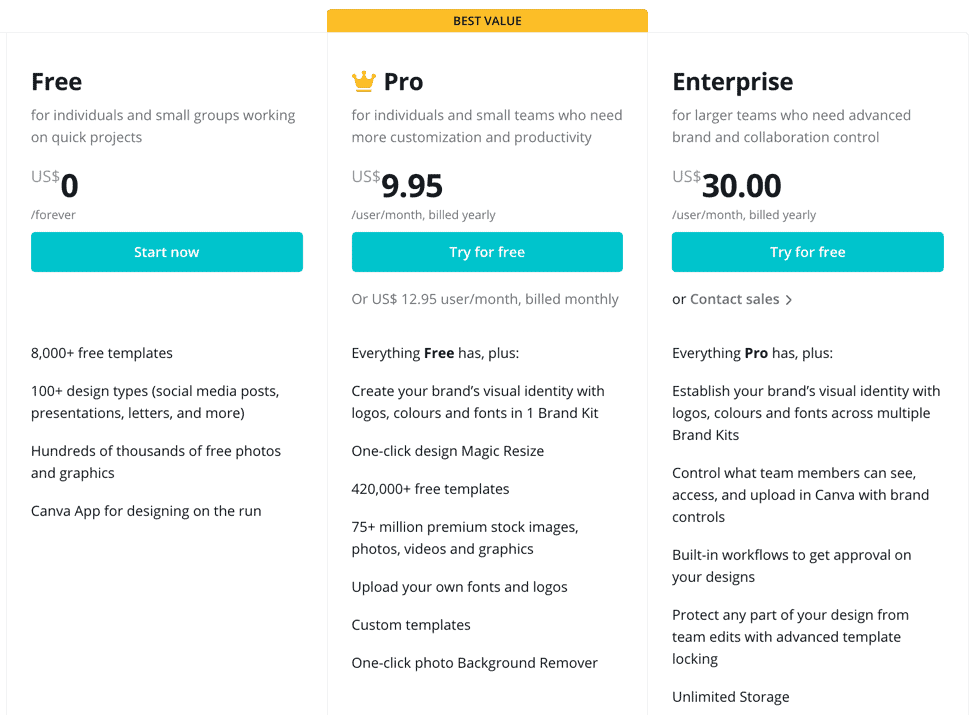
The free version suits freelancers who create 10 to 15 designs per month. You get access to 100+ design types, 8,000+ free templates, and thousands of free photos and graphics.
If you create more images for yourself or your clients, the Pro plan will suit you better. You get access to 420,000+ templates, 75+ million graphics, photos, stock images and videos, and several other features. A standout feature is Brand Kit for storing brand assets (color palette, logo, etc.).
The Enterprise plan is best suited for agencies and corporations with multiple team members. You get access to multiple Brand Kits, design workflows, and unlimited storage.
Note: There are free programs for nonprofits and education
Canva’s Top Features
1. Photo effects to improve photos
Canva has several effects to enhance photos. You can add effects to photos that Canva provides and photos you upload.
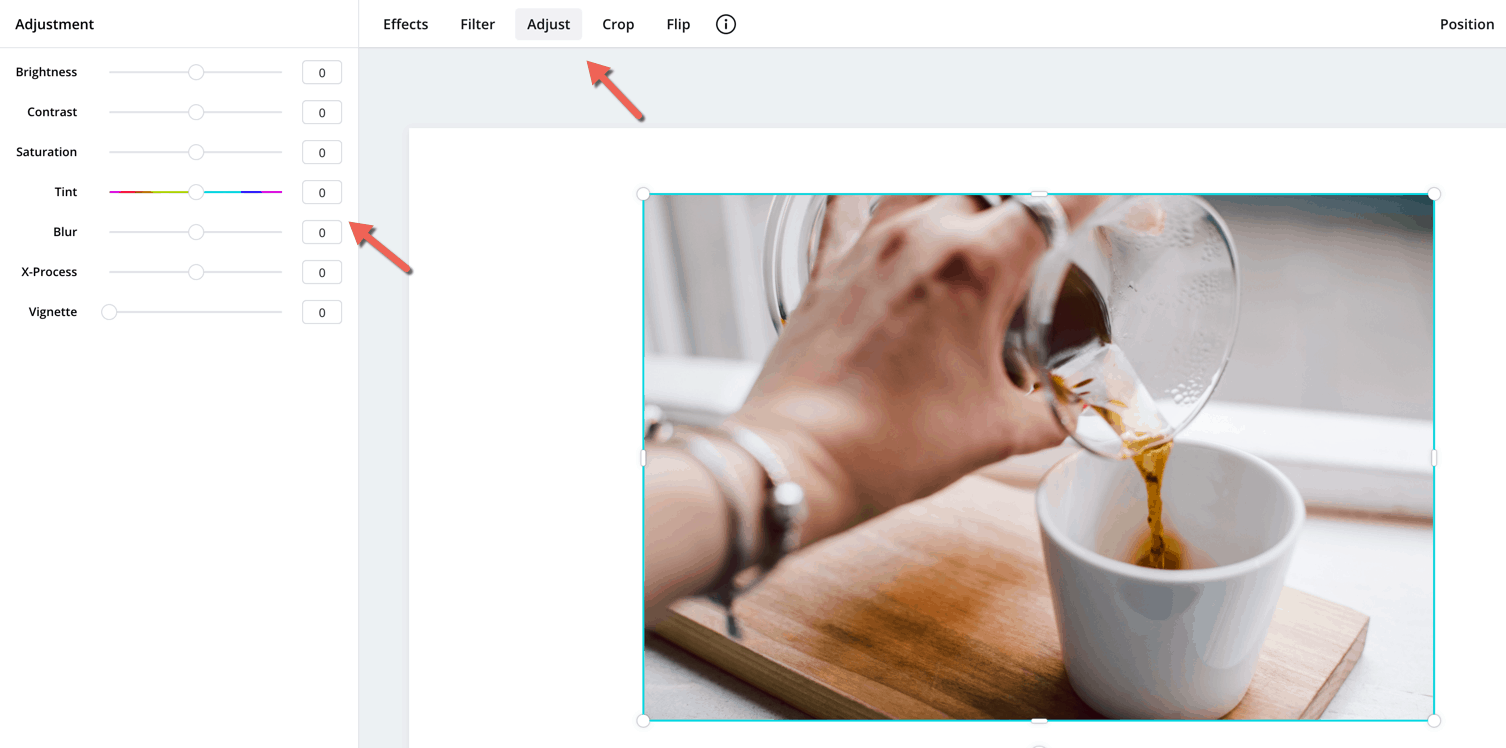
You can see them at the top of the editor when you select a photo.
These will let you flip photos, crop them, add filters and adjust brightness, contrast, saturation, tint, blur, etc.
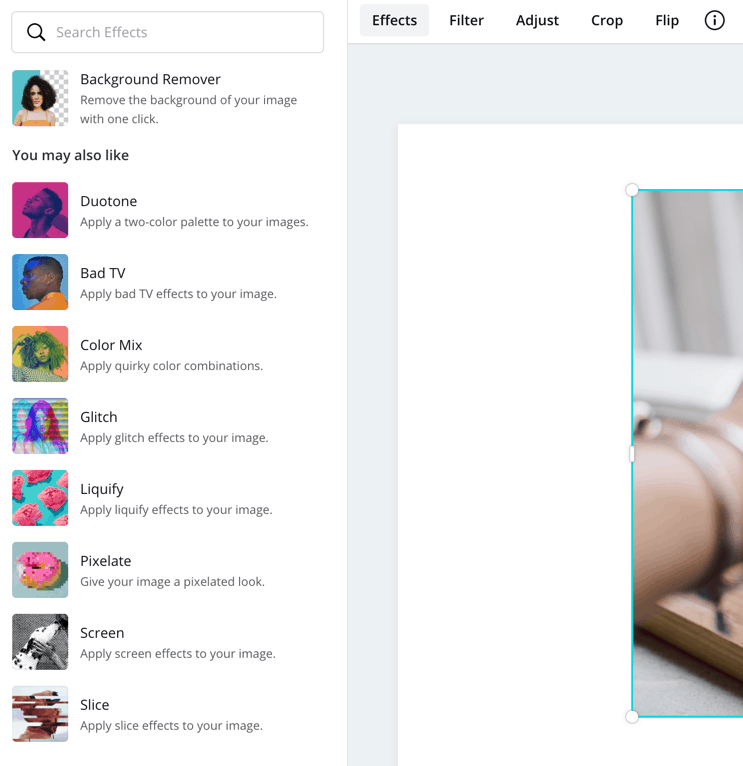
There’s also an effects tab that lets you add effects such as Duotone, Background Remover, Liquify, and more.
Most effects are accessible with the free plan, though some features, including Background Remover, require a subscription plan.
2. Access to photos, videos, and templates
You can access 75+ million photos and videos and 420,000+ templates with the Canva Pro plan; a fraction of these are available with the free plan.
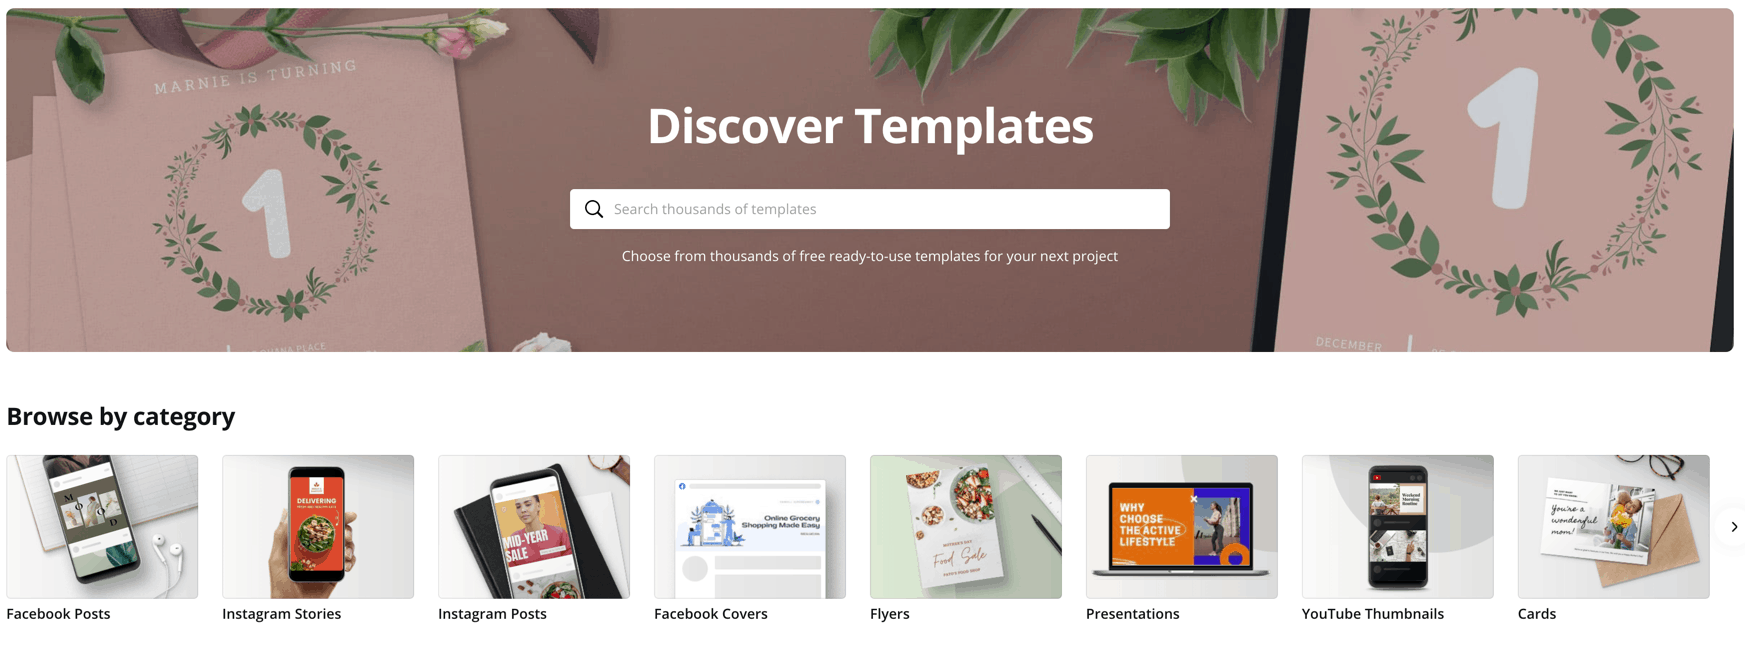
To use the templates, click the Templates tab when you’re on the editor. Canva will automatically find templates based on the design type you selected.
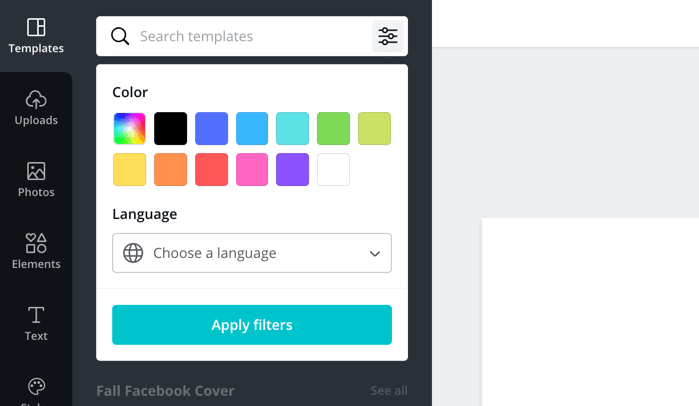
You can scroll through or search the templates by color or language.
To find photos, click the Photos tab and choose photos in a similar way to the filters. You can also upload photos using the Upload tab.
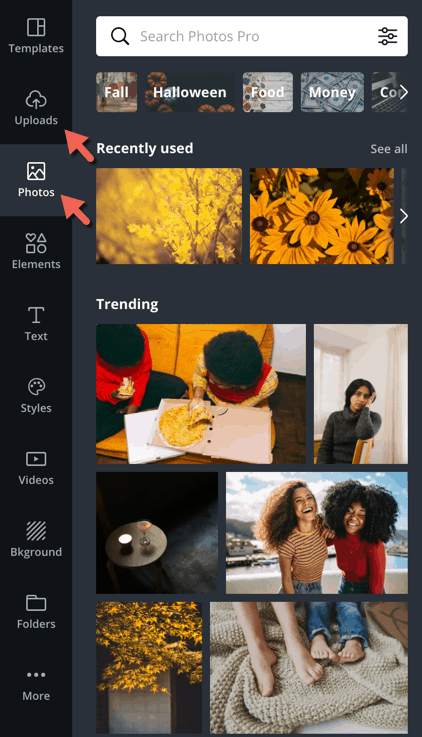
Another place to find photos is the More tab.
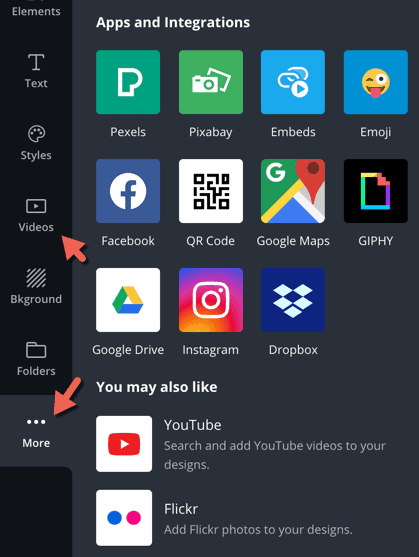
You can access photos and videos directly from Pexels, Pixabay, Facebook, Flickr, YouTube, Instagram, Dropbox, Google Drive, and more sites.
There’s also a Video tab where you can find videos.
3. Access to icons, shapes, and stickers
Canva has an Elements tab to find icons, shapes, stickers, charts, grids, gradients, and more.
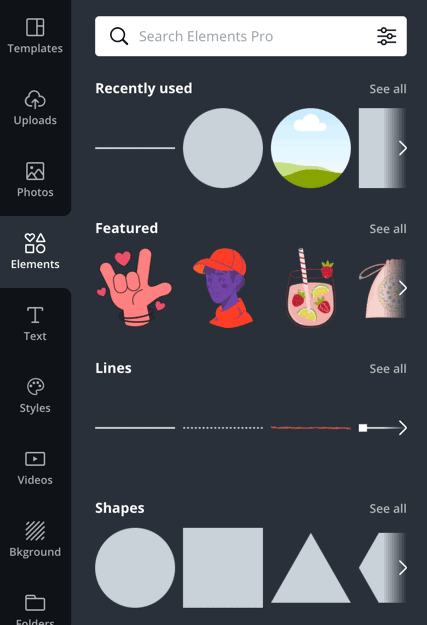
You can add them to your images and adjust color, transparency, and size.
4. Font library
Canva has a font library under Text where you can find dozens of fonts, ranging from simple to sophisticated fonts, with individual fonts and font pairs.
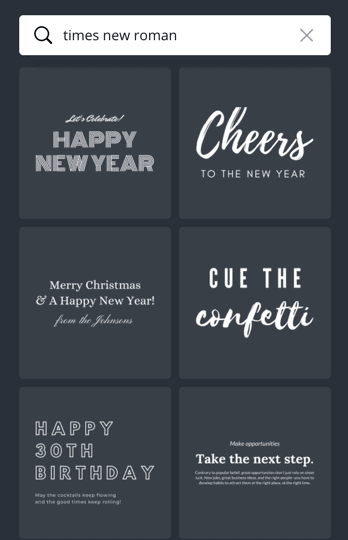
If you search a font, Canva will find the individual font and fonts that pair with it. You can choose a pair and add your text.
If you have a Pro account, you can upload fonts, provided you have a license to use that font; you cannot upload any font you want.
5. Drag-and-drop editor
The drag-and-drop editor makes it easy to work with the photos, videos, templates, elements, and fonts. Choose what you want to create, and Canva will display all the relevant items. You can add them by the drag-and-drop method and make changes. You should be able to create your visuals in minutes. If you have used the templates before, you can probably make them in seconds.

6. Creates more than images
Most people think of Canva as only for creating images. But you can create invitations, planners, business cards, blog banners, newsletters, menus, certificates, workbooks, websites, flyers, and more. There are many resources for online education, too.
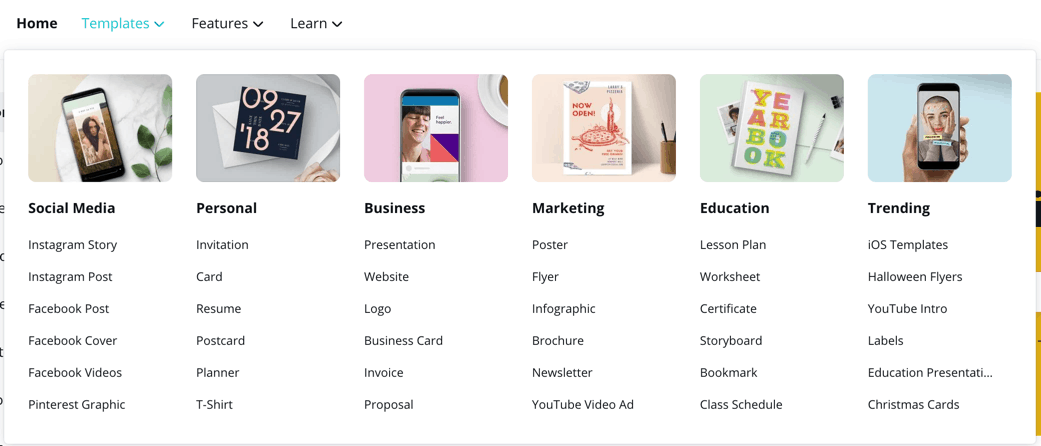
You can use the drag-and-drop editor again. Choose the creation type and Canva will suggest templates. You can either go with the available templates or start from scratch.
7. Animate images
Canva lets you apply animation effects. Just click Animate. This shows all the effects you can use. Free ones include Block, Breathe, Fade, Pan, and Rise; paid animations are also available.
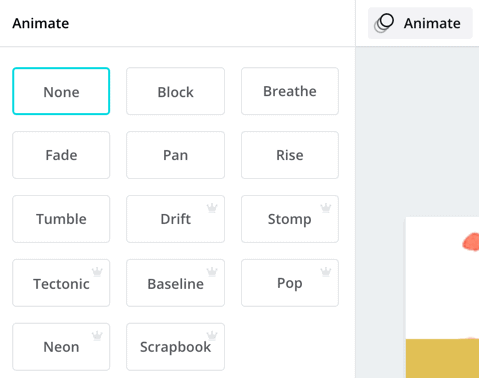
I recommend that you play around with these effects. They will help you create beautiful images, especially for social media.
8. Publish to social media or schedule
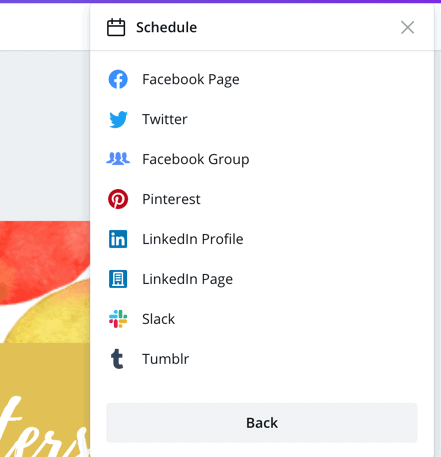
Like most online photo editors, Canva lets you share your images directly to some top social networks. A convenient feature they added recently is scheduling your posts to social media, including Facebook pages, Facebook groups, Twitter, Pinterest, LinkedIn profiles, LinkedIn pages, Slack, and Tumblr.
9. Content planner
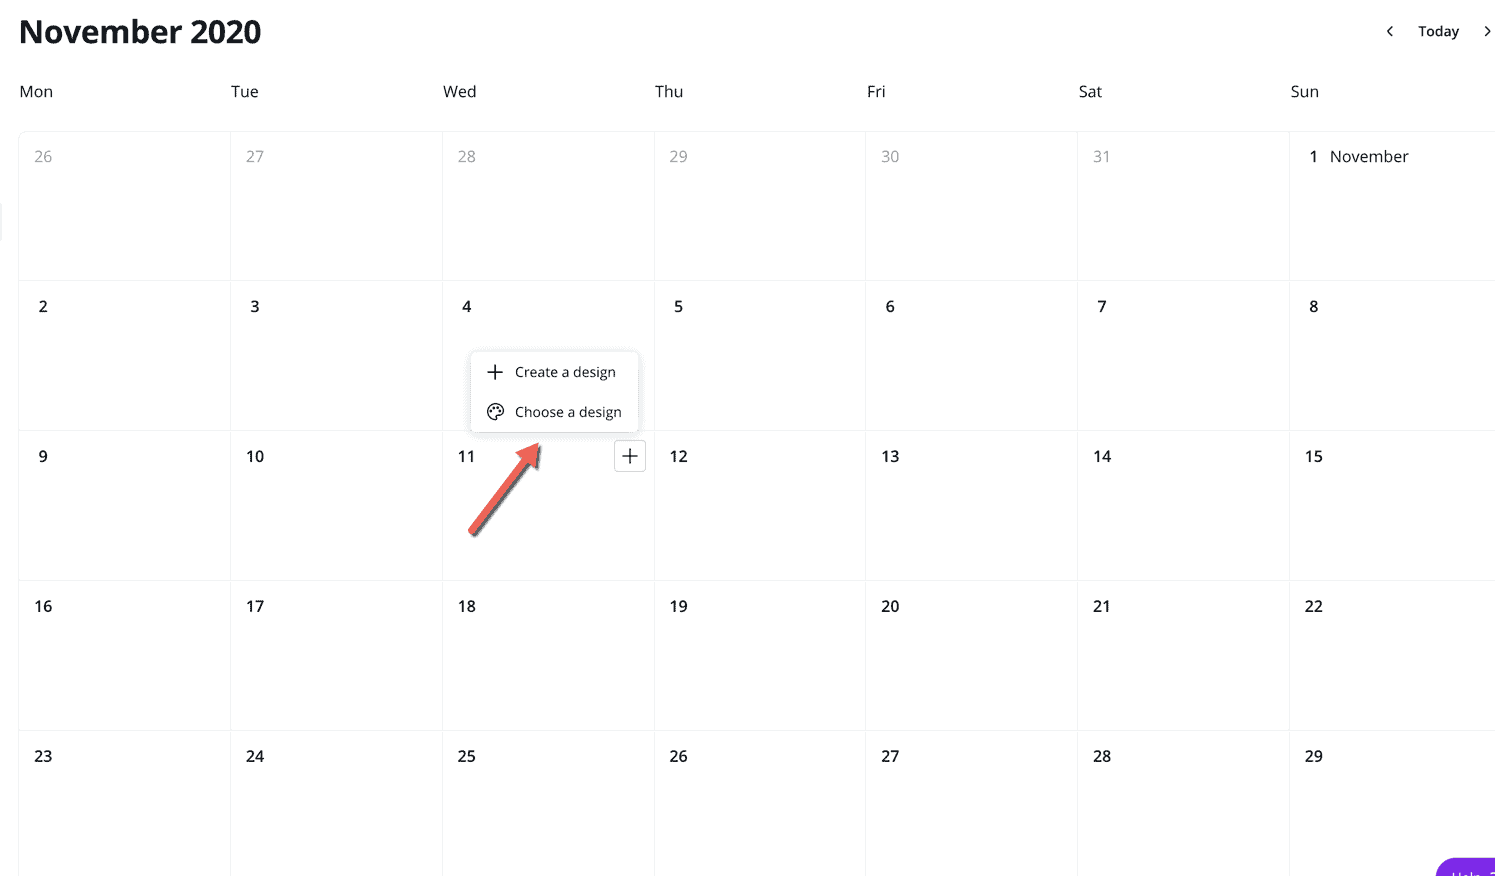
Another new feature is the content planner. Here you can view all the images you have scheduled. If you find gaps in the calendar, click the ‘+’ sign to add a design you created earlier, or create one immediately.
10. Brand Kit
The Band Kit is a storage area for your brand assets, including fonts, brand colors, and logos.
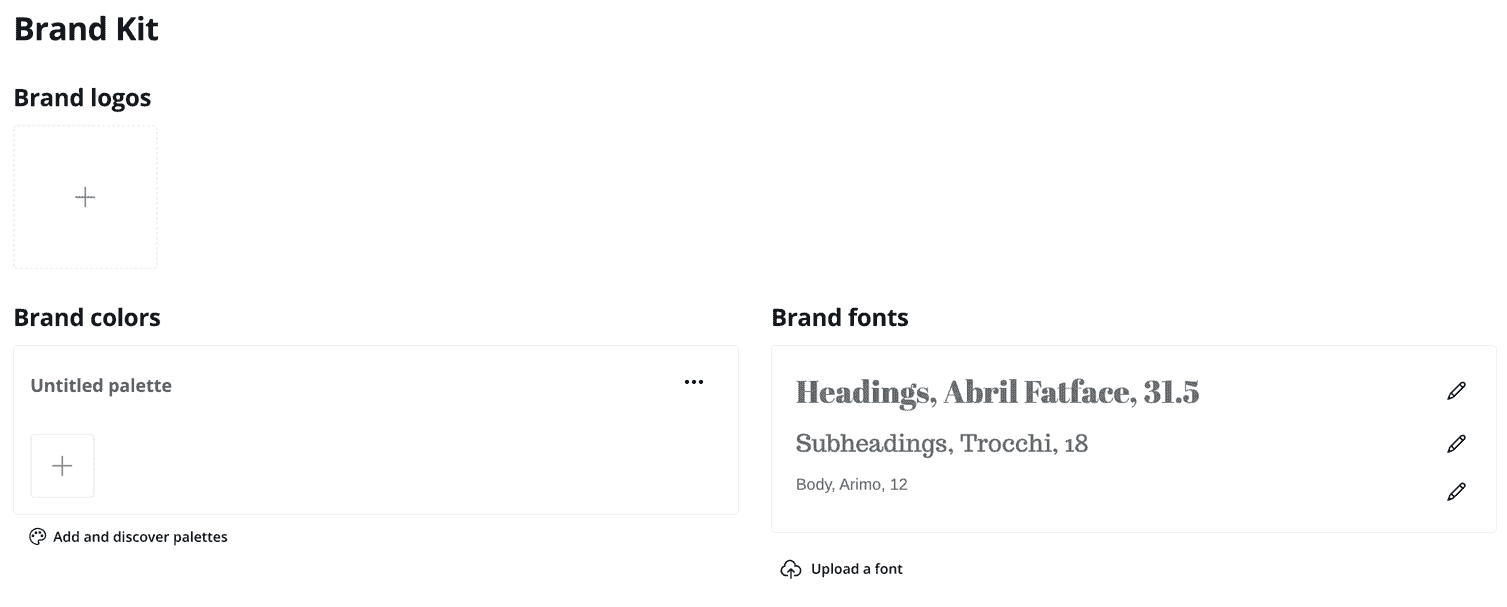
The main benefit is that you can easily access the assets while designing. It saves time and helps you maintain a consistent look across all your designs.
The Brand Kit is only available in Pro and Enterprise accounts. You can create one Brand Kit with a Pro account. To create more, you must upgrade to Enterprise. It’s better suited for agencies that design for multiple clients or corporations that house several brands.
Cons of Canva
As discussed, Canva offers so many pros. But there are also a few cons. Here they are.
You cannot create unique elements
Canva doesn’t let you conjure elements. These are prebuilt designs and design enhancing items such as lines, frames, icons, shapes, and stickers you can add to creations.
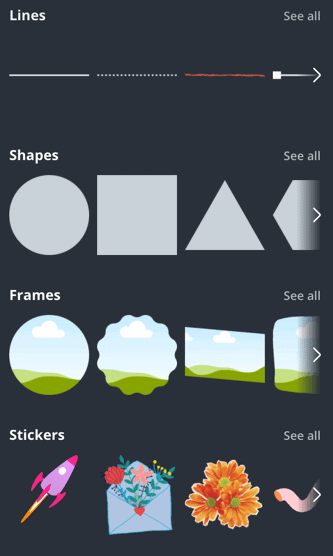
You can only use those they give you. You can change colors and sizes, rotate them and move them around, but that’s about it.
If you were using Photoshop or Illustrator, you could create these items from scratch, like in this comic I drew.
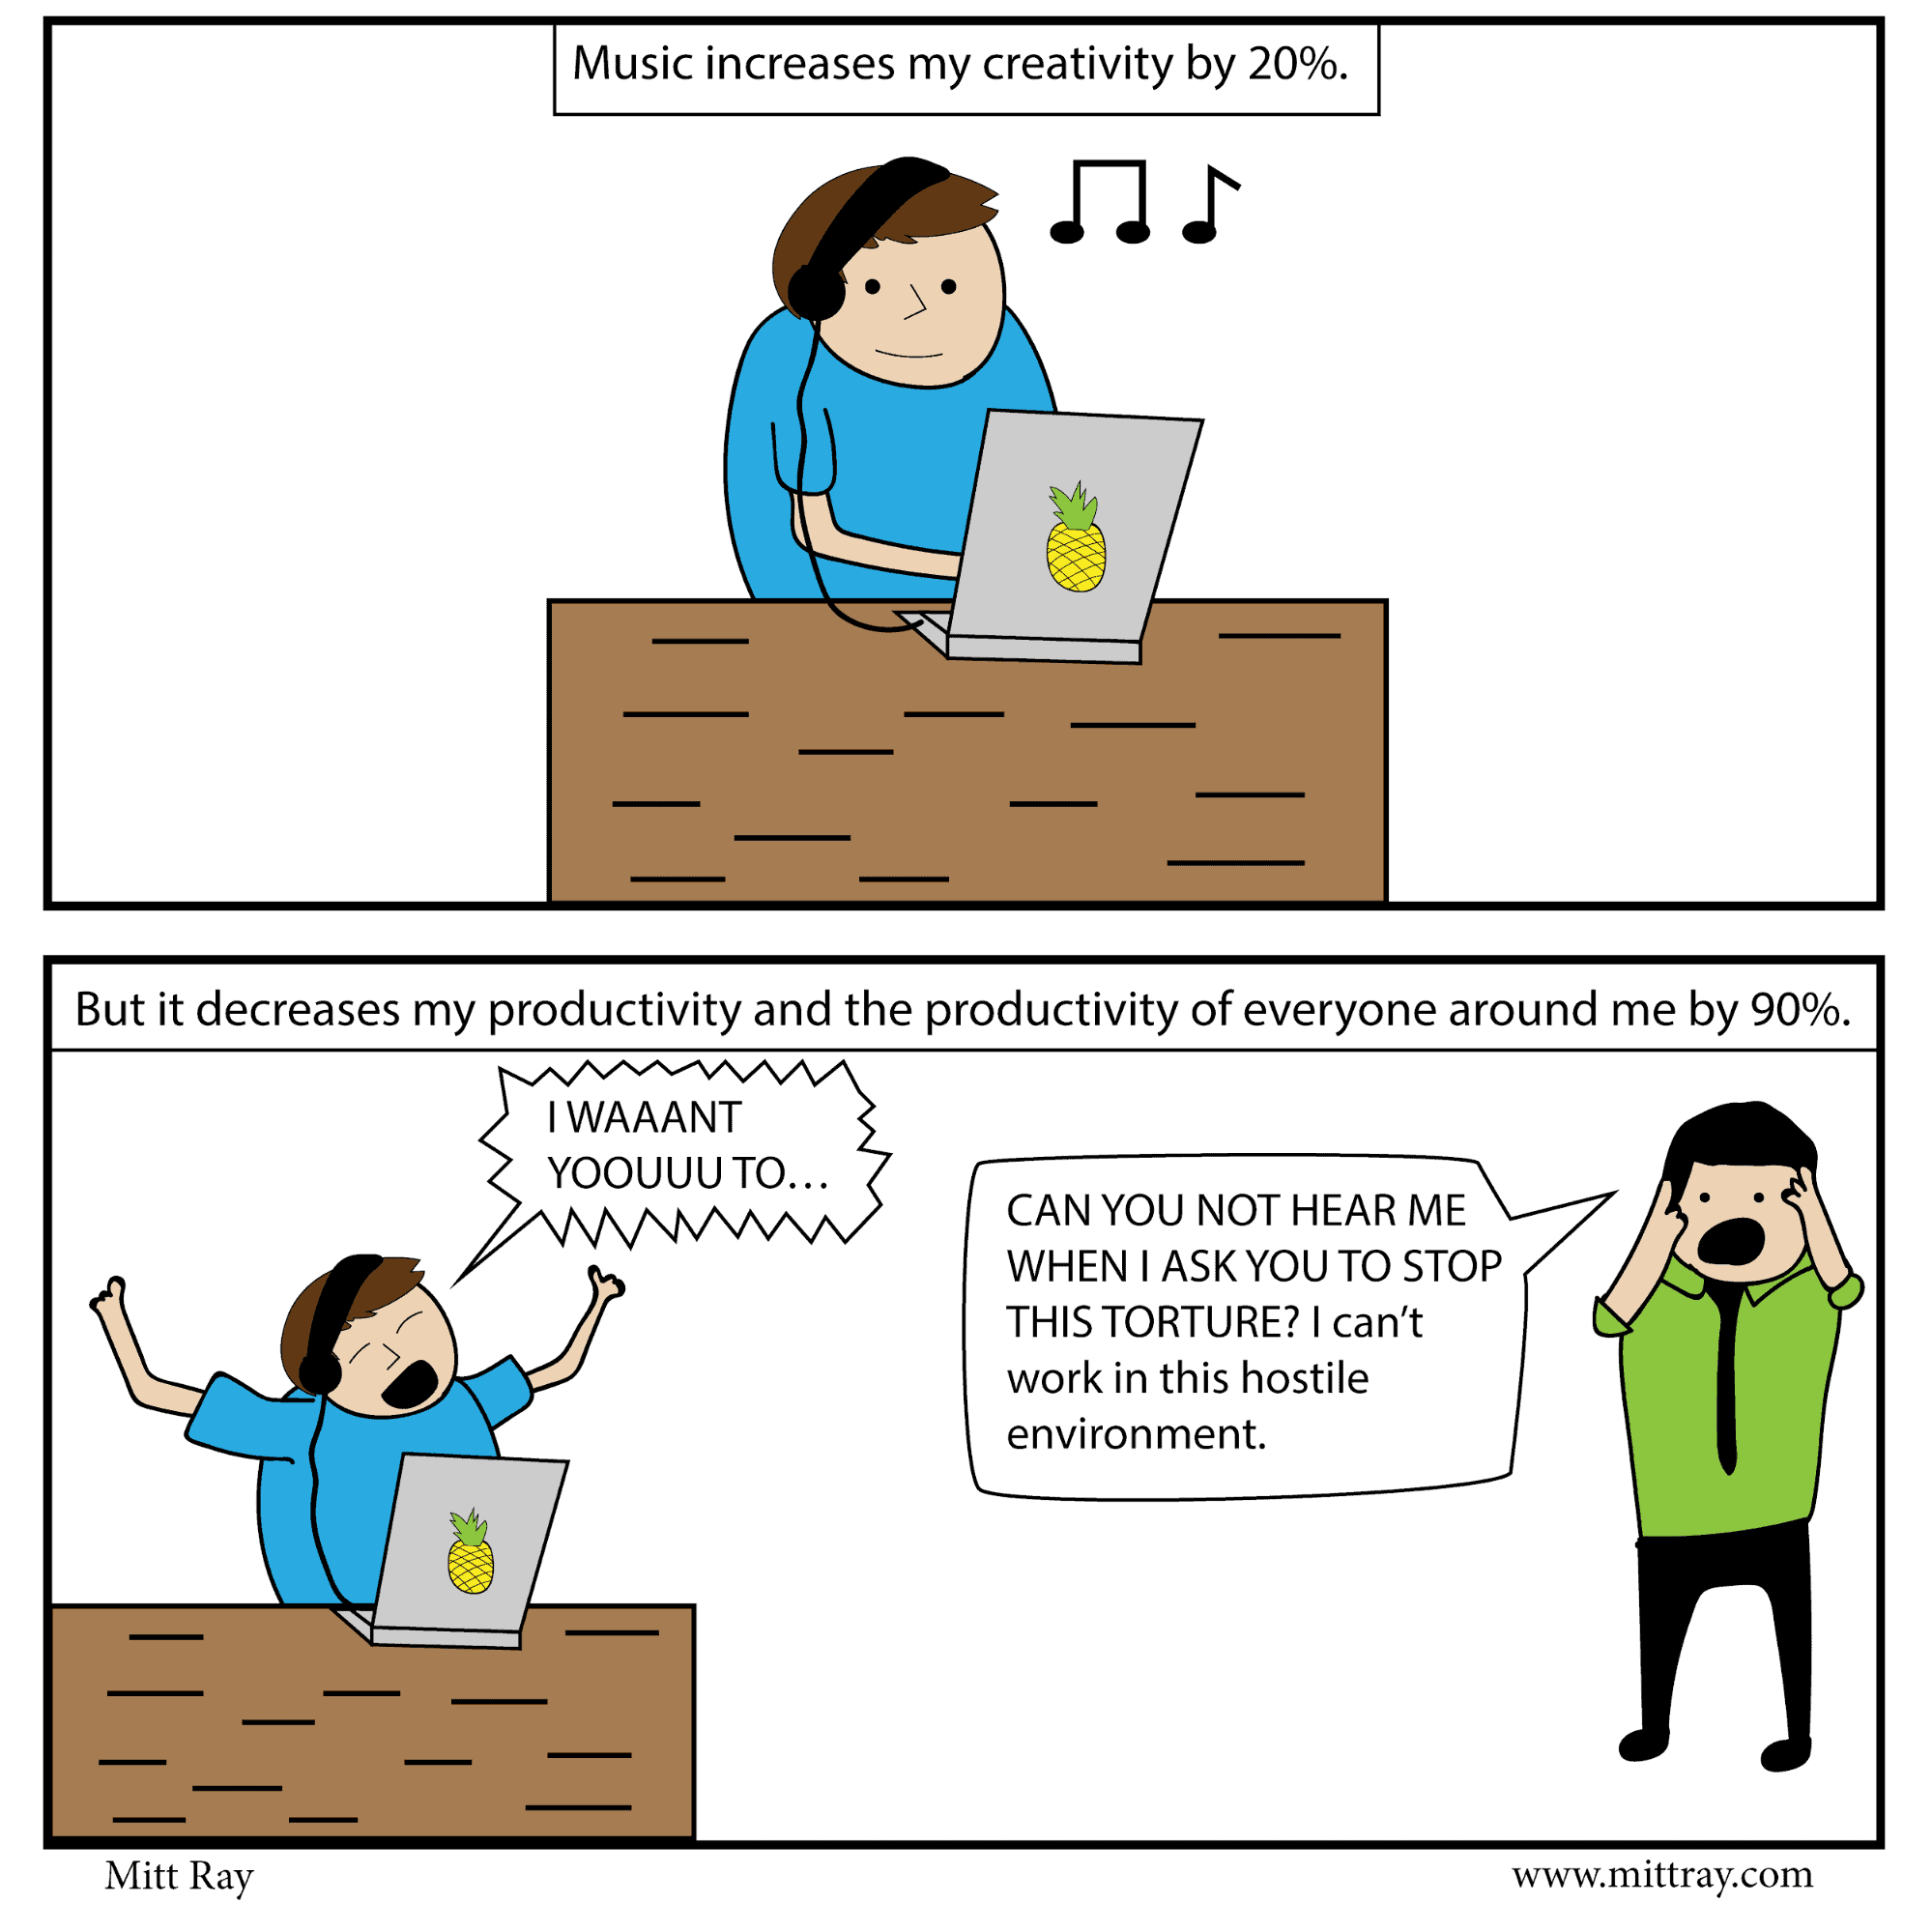
It’s a combination of hand drawing and vectors.
Photos and templates appear generic
Canva has hundreds of thousands of templates and millions of photos. They look great and appear better than many of the ubiquitous free stuff. But they can look a bit generic. It’s again because of the rigid nature of Canva.
Creating something distinctive is a challenge. You might find more unique templates and photos on design resource sites such as Freepik and Adobe Stock.
But you get a lot of quality free images and premium ones for a small price of $12.95 per month (less when paid annually), so Canva is more affordable.
Not the best photo editor
Canva has photo editor features, but it can’t do heavy-duty stuff that tools such as Photoshop can. If you work with more photos, you should either get Photoshop or combine Canva with Lightroom.
Hard to use on small screens
There’s a mobile app, but it is harder to use. The experience on the computer is much better.
How to Use Canva
Now that you know some of Canva’s prominent features, let’s use that knowledge to create an image.
We’ll create an Instagram quote image; they are easy to make and drive good engagement. The AppSumo account regularly publishes them.
View this post on Instagram
They were also integral in helping Foundr hit 2.6 million followers.
View this post on Instagram
Let’s get started.
Choose a visual type
Select an option on the dashboard to choose a visual type, or use the arrow, menu, or search bar to find templates. You can set custom dimensions for a unique layout.
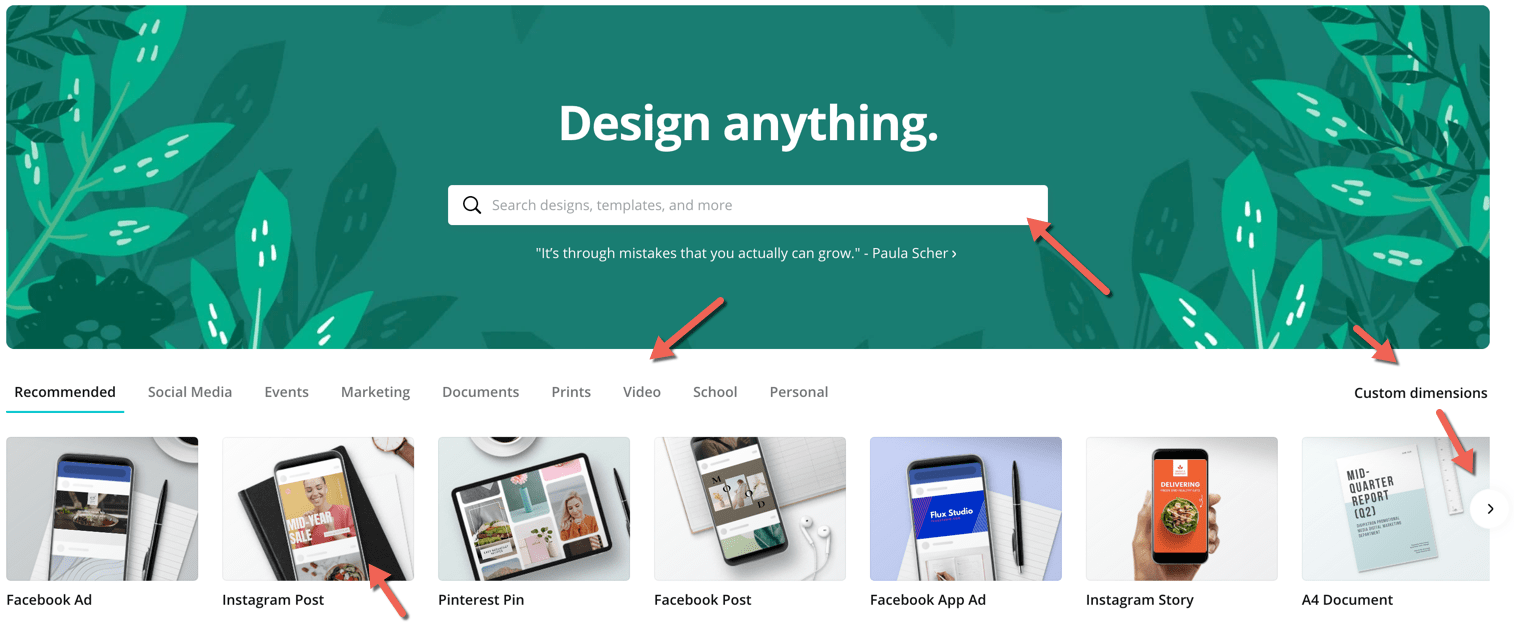
I clicked Instagram Post, as we are creating an Instagram image.
Select a template and modify it
Canva will open the editor in a new tab with templates to the left.
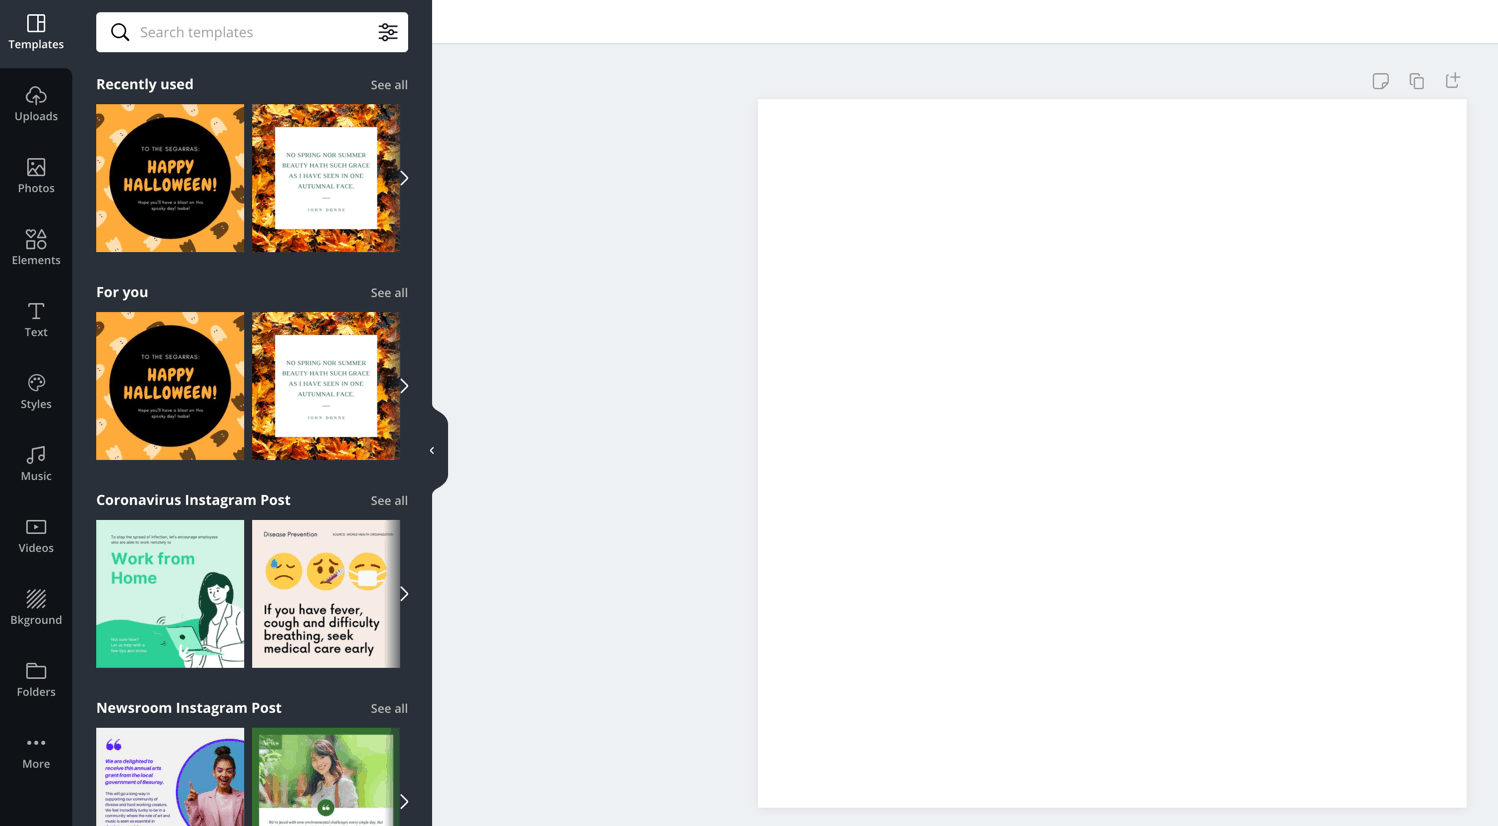
To pick a template, drag and drop it on the editor.
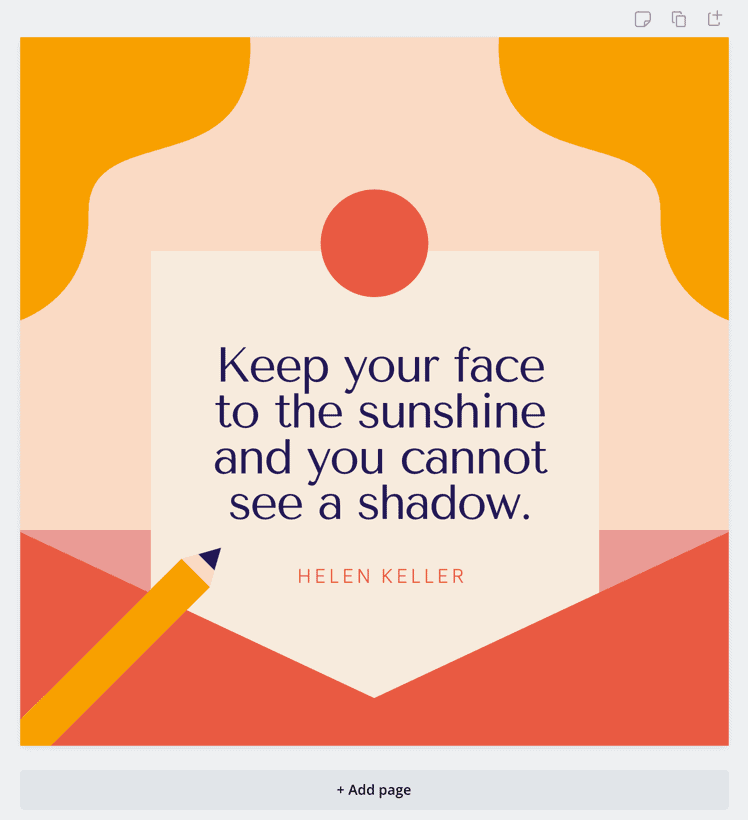
I added this quote image.
After you choose the template, you can modify it by adding your quote and brand colors.
I did that below.
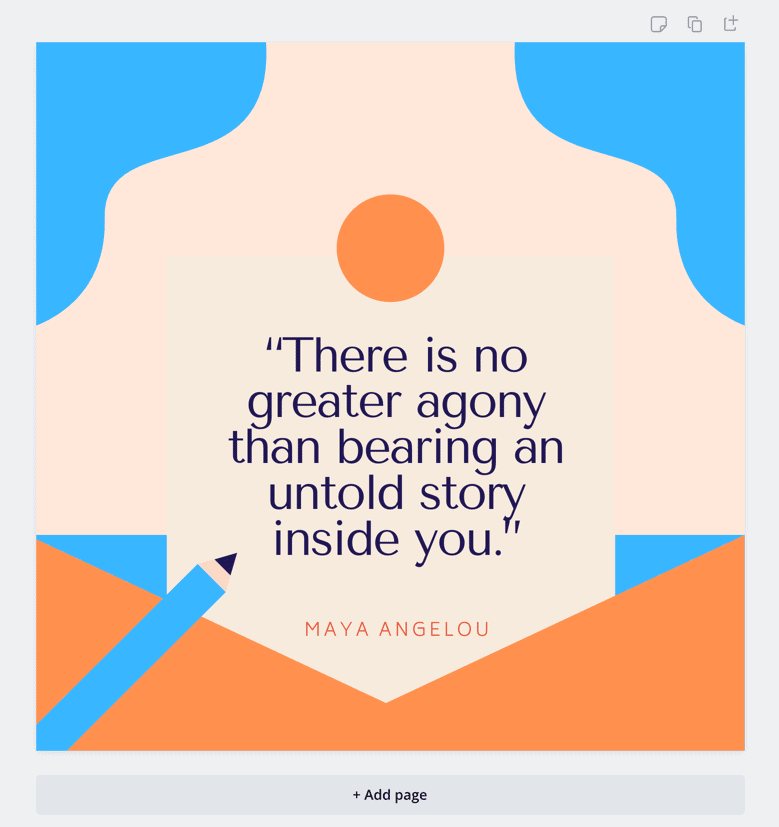
This is how you create images with Canva templates. It’s very straightforward. You can also create images from scratch by picking photos and overlaying elements on it.
I will show you how to do this below, as we’ll get to explore more features.
Choose a photo
Start by choosing a visual type. Next, visit the Photos tab, or Uploads tab (to add your photos) or More tab to import an image from another site (don’t forget to verify copyright permissions!).
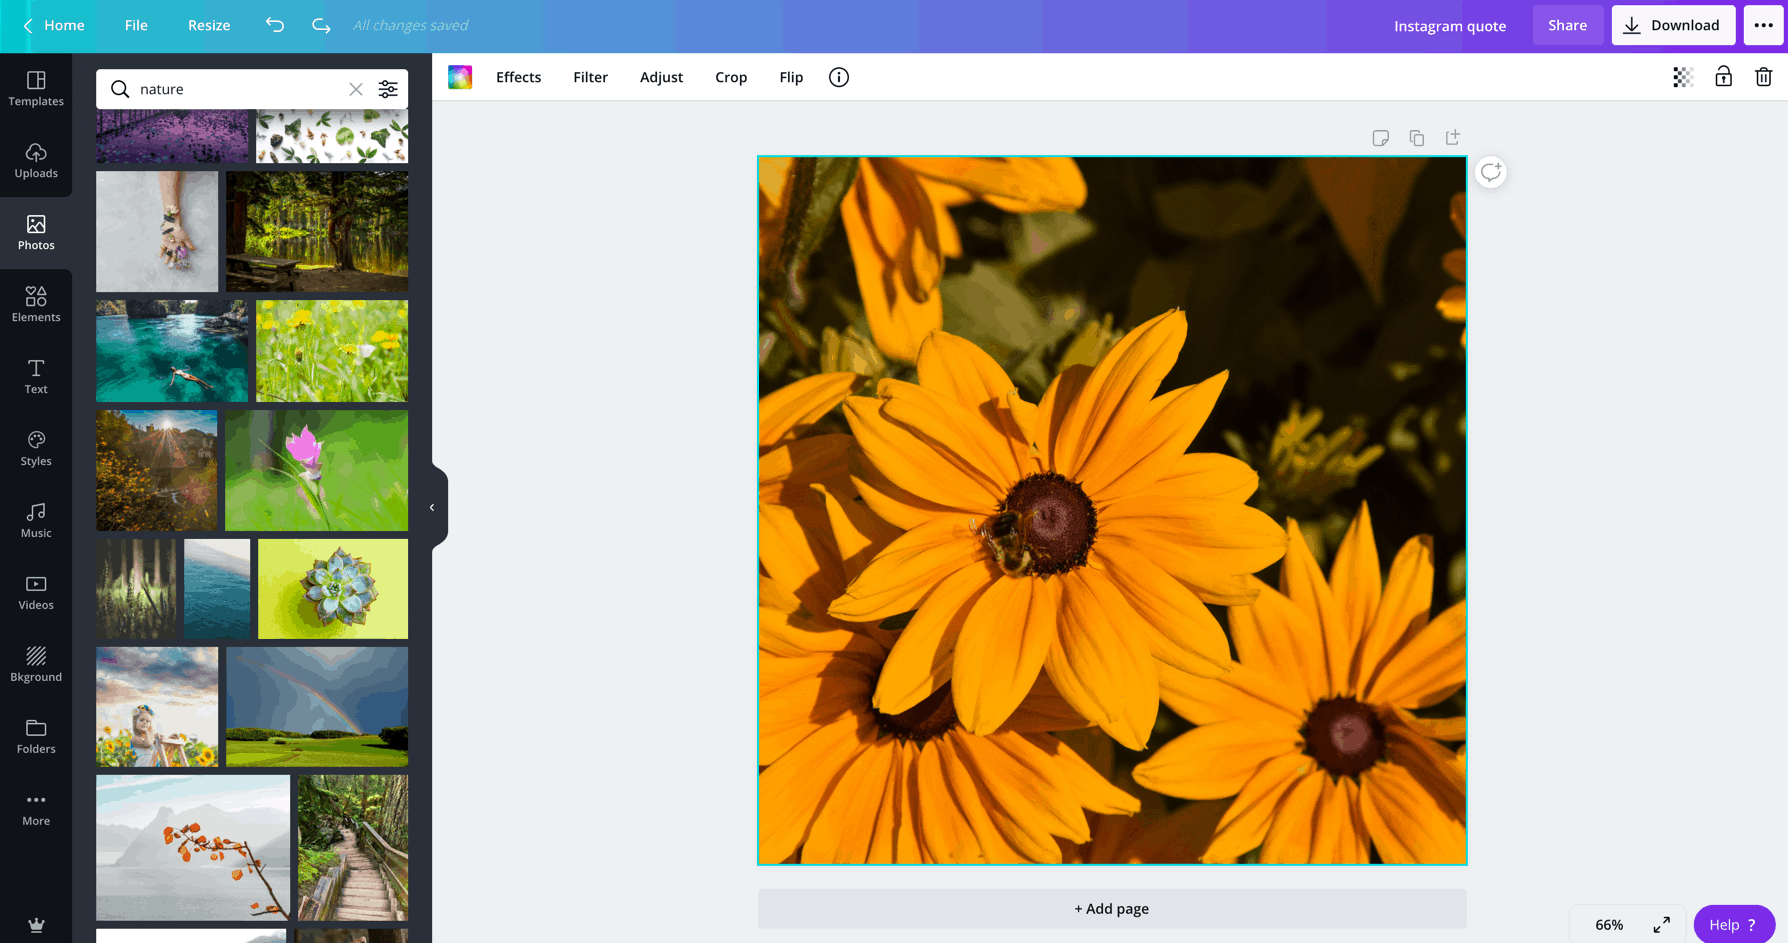
As we’re creating a quote image, I chose a photo that matches the quote I plan to add.
Add overlays
After that, visit the elements tab and add overlays. I added a simple white circle and placed a line. The line will separate the quote and the author’s name.
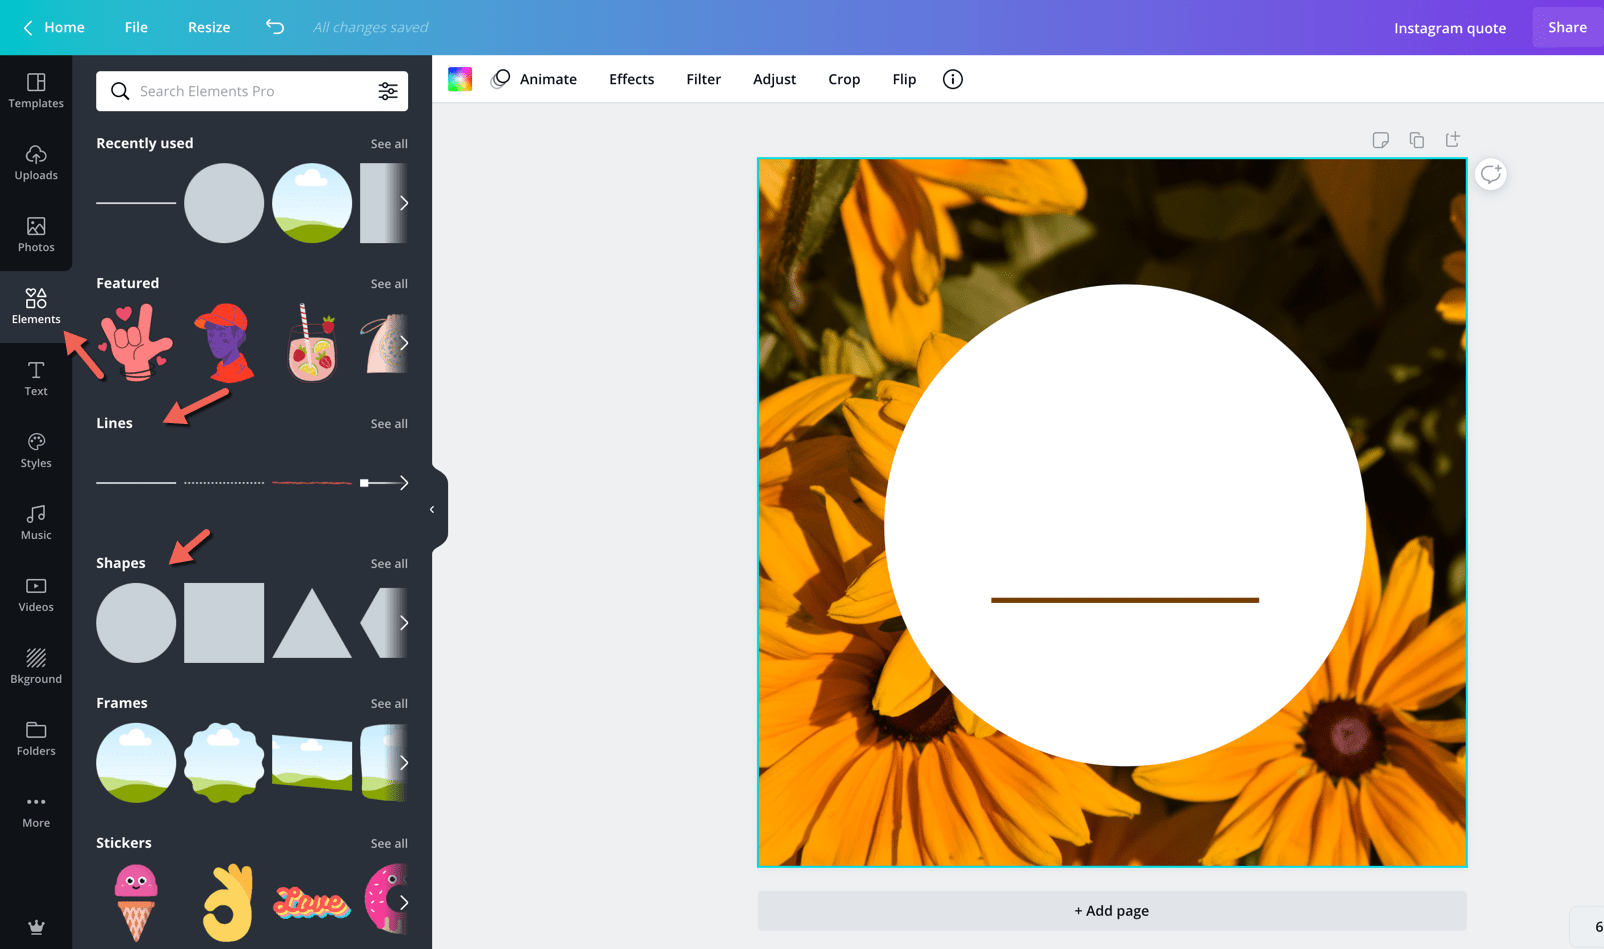
You can resize elements by dragging corners. If you click Option/Alt while dragging, it will retain the aspect ratio.
I used white for the circle overlay as neutral colors such as white and black look good on most images. For the line, I picked a color that’s in the photo.
Canva has a palette finder that analyzes photos and displays all the colors in them. Just select the photo and click the color option. It’ll show you the colors in the image on the left menu.
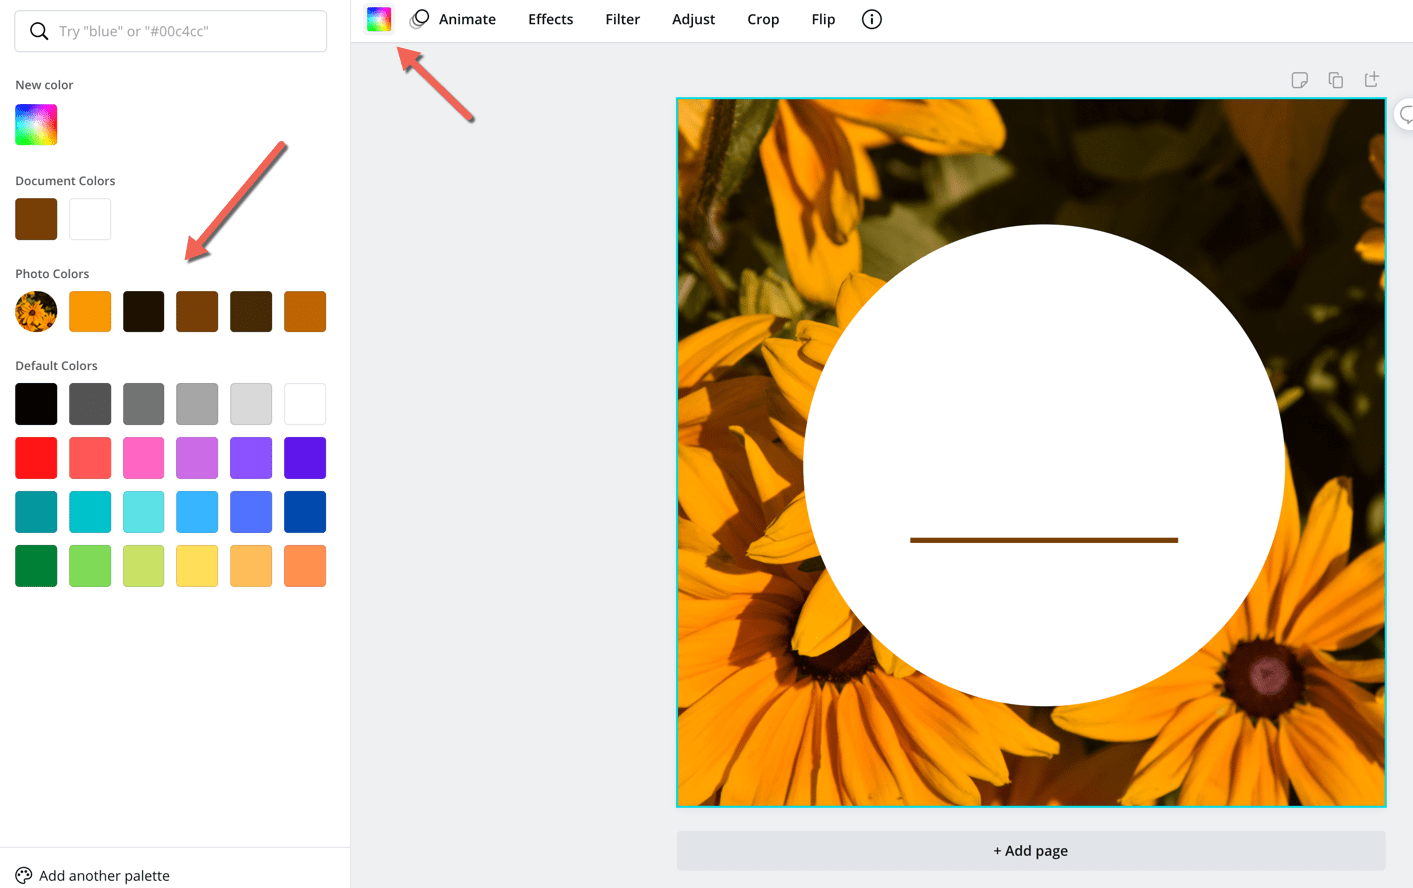
You can click the elements and add colors. It is the easiest way to find suitable colors, especially if you are new to design. If you have advanced knowledge of color theory, feel free to experiment with other colors.
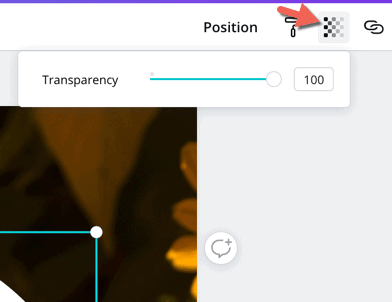
If you want people to view the background, even after you add overlays, you can adjust the opacity of the overlays by clicking transparency and moving the slider.
Add text
You can add text next. On the Text tab, you can either browse or search for fonts.
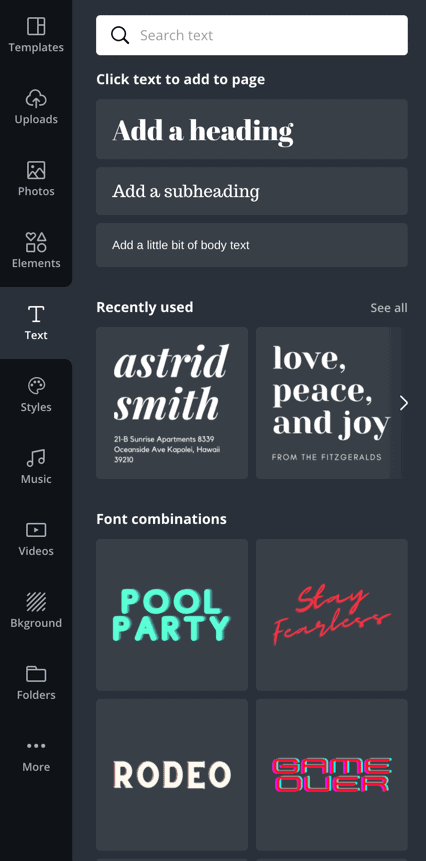
There are several fancy and simple fonts. I prefer a simple font like Montserrat.
Some people will tell you to use a fancy font. Fancy fonts look great and work for certain purposes, but when creating things for the web, use something simple. The same principles you apply to copywriting matter here too.
You must give people something easy to read, as the internet is laden with distractions. If the font appears fancy and hard to read, your engagement and conversions will dwindle. You don’t want people thinking, “Is that 6 or b” or “is that a or e.”
The principles you apply to blog writing and copywriting to simplify the text matter here too.
When you search a font, Canva will find both the font and font pairs.
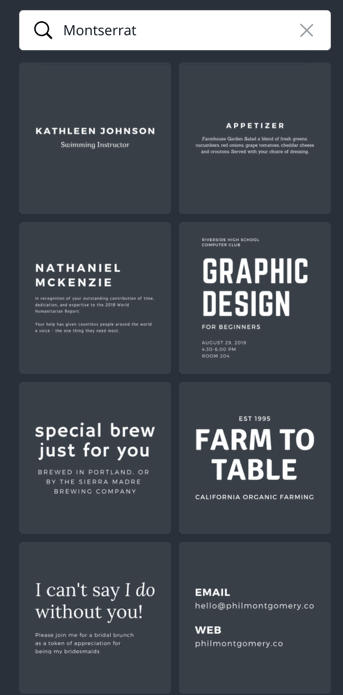
Click the pair you like most to add it to the editor.
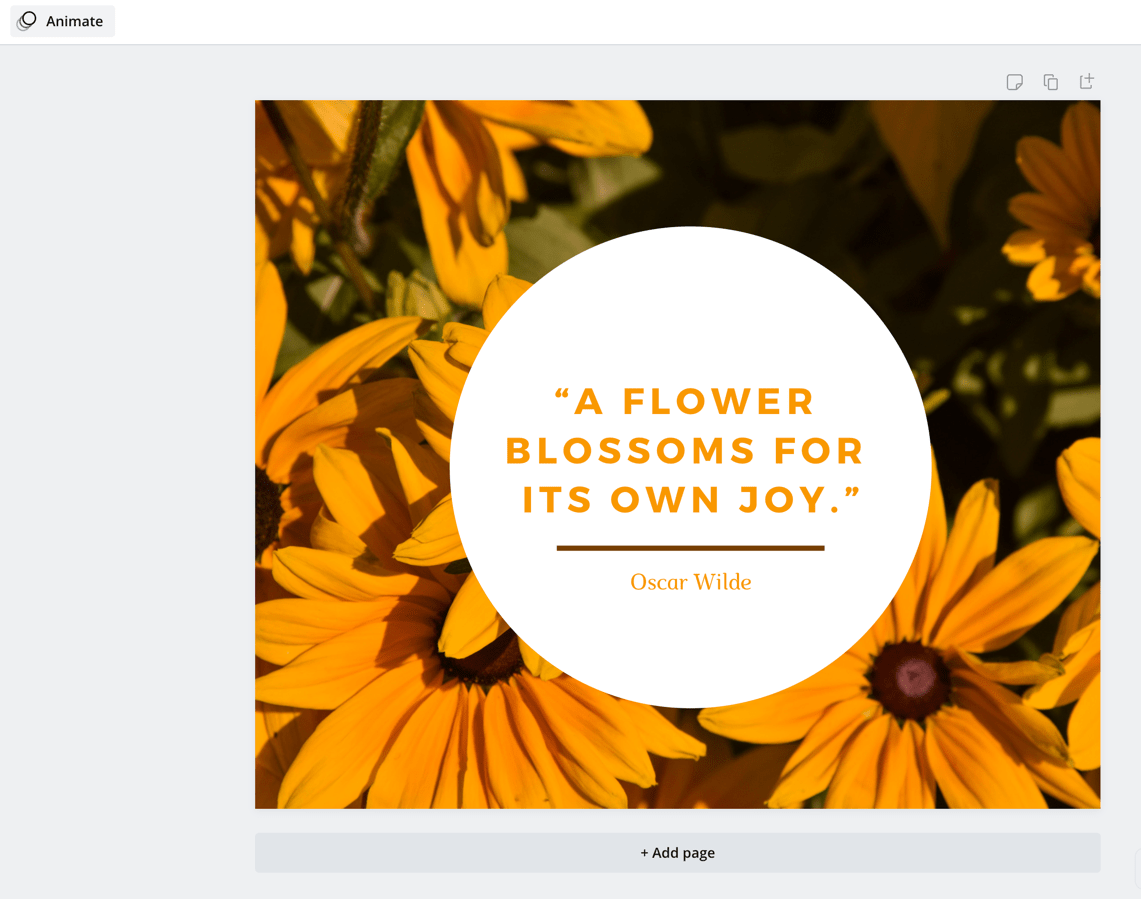
Next, replace the text, adjust the size, move it around, and add colors.
You can also add your branding if you like. Just upload a logo or add your website address.
Adjust the alignment
To make your visual appear consistent, adjust the alignment of all the elements in it. Start by selecting all elements by clicking Command/Control + A.
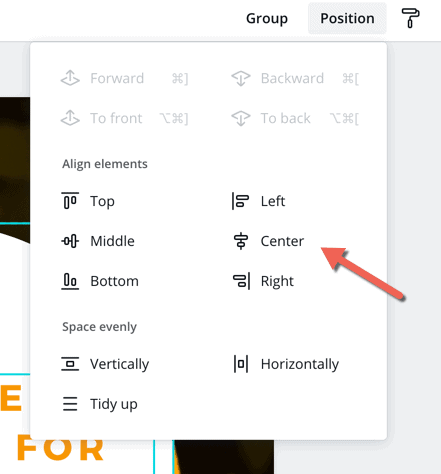
Next, click Position, followed by Center. It will position everything to the center. If you prefer a different alignment, use it.
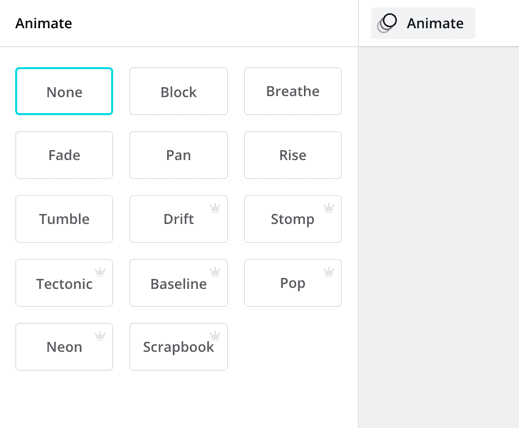
To animate your image, click Animate and choose an animation style.
Resize your creation
Your image is complete, but before I teach you how to share, I wanted to show you a time-saving feature.
Canva has a resize feature that lets you resize any image.
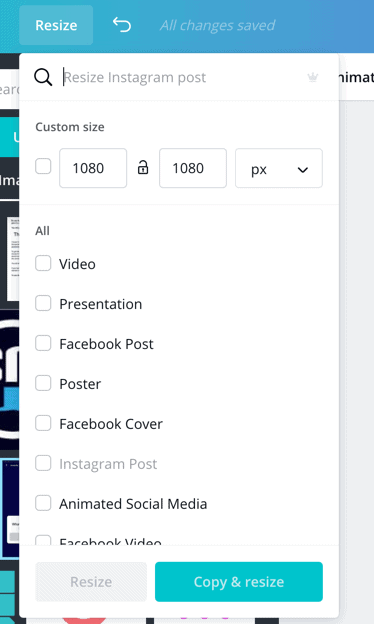
Just click Resize and add the new size or platform you are creating it for and choose whether to resize the current one or make a copy. Canva will automatically resize it for you and adjust the design’s elements.
I created a Facebook cover image copy, and you can see it is a different size, but everything appears consistent.
Download or share
After your image is ready, you can either download or share or schedule it.
To download the image, click Download, choose the format, and click the Download button.
To share, click the “…” icon, choose the platform you want to share it on, or click Schedule. While scheduling, you can set the time and choose the social networks.
Was this Canva review useful?
Canva is an excellent online graphic design tool. You can use it for everything from making basic photo edits to designing social media images to flyers and documents. It has so many features, and it comes at a bargain price of $12.95 per month. There’s also a very generous free plan, and customer support is wonderful. It offers a good design experience for entrepreneurs and marketers.
But if you feel it isn’t right for you after reading this Canva review, check out these Canva alternatives.
You must also check out the AppSumo store, as we have lifetime deals for several online photo editors. You can get many such as RelayThat for as little as $49 for life.

