Buffer Review: Features, Pros and Cons, Pricing and More
To build a powerful online presence in 2022, you need to be active on social media, as there are over 4 billion monthly users. The figure’s been higher lately, and will continue to be up there for the next year because of the current pandemic.
The best way to reach this audience is with a social media automation tool like Buffer, as manually managing social media accounts can be a massive pain. Buffer will help you reach audiences on different platforms from one dashboard, schedule posts, and more.
What Is Buffer?
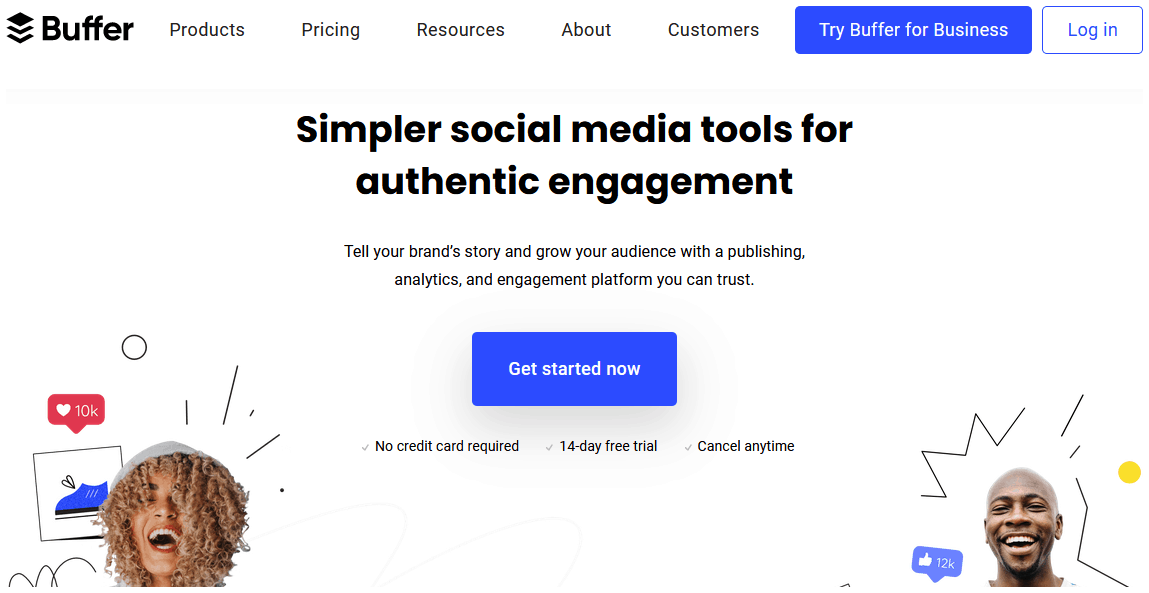
Buffer is a social media management tool with over 75,000 customers. It has many more free users because of its freemium model.
I discovered Buffer around the time it launched. I was already using Hootsuite, but Buffer was the first to introduce the time slots feature for scheduling content you see everywhere these days.
Before that, on platforms like Hootsuite, you had to schedule each post individually. Every time you added content to your calendar, you had to set a day and time manually. This feature from Buffer saved a lot of time, so I used Buffer and Hootsuite simultaneously; the former for scheduling content and the latter for other aspects such as monitoring the feed and responding to comments.
When Buffer launched, it was a simple scheduling tool for Twitter. Since then, it has introduced scheduling to multiple social networks and has added features such as detailed analytics.
Best Suited For?
Buffer will suit anyone who wants to build a social media presence, with plans for everyone from bloggers to small businesses to agencies.
Pricing Plans
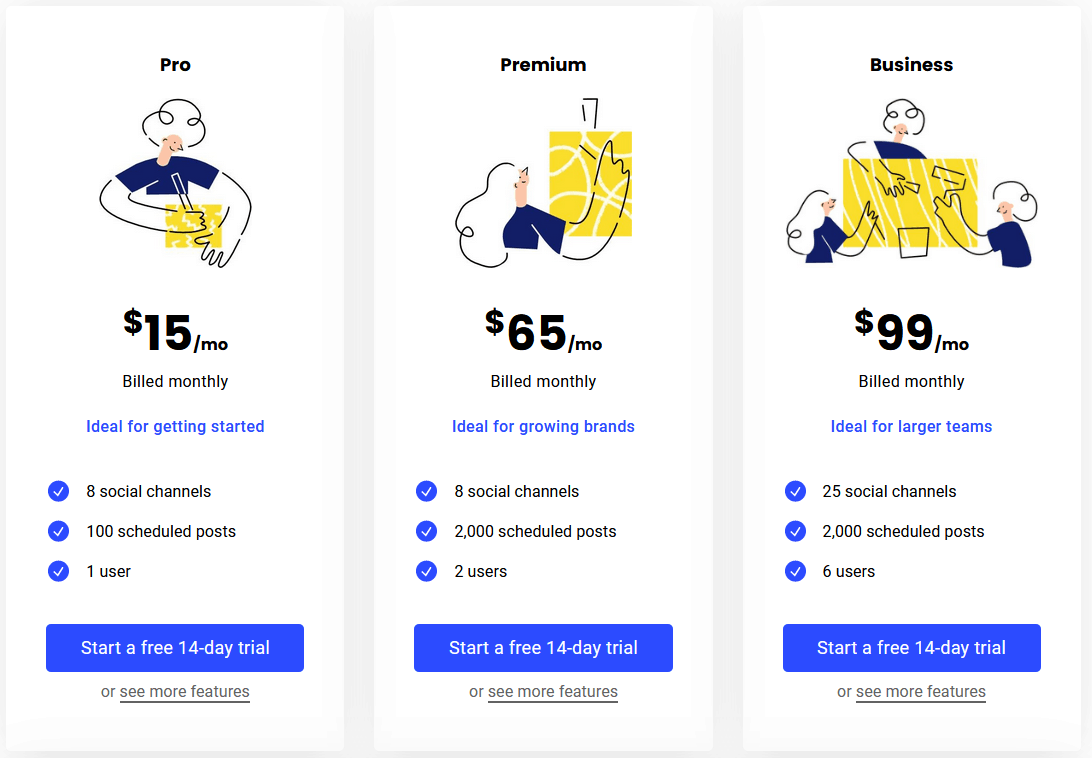
Buffer has several plans that will suit a wide range of users. There’s a free plan for people who run their accounts as a hobby; you can connect three different social media accounts and schedule 10 posts.
To connect more accounts, you can upgrade to the Pro plan. It lets you connect eight social accounts and schedule up to 100 posts. It costs $15 per month. This plan will suit solopreneurs and bloggers.
To schedule more posts and add an extra user, upgrade to Premium ($65 per month). You can schedule 2,000 posts with it. It is suitable for small businesses.
For larger businesses, there is the Business plan ($99 per month). It lets you connect 25 social accounts, have six users, and schedule 2,000 posts. This plan will also suit small agencies.
Buffer has more Business and Enterprise plans that will suit larger businesses and agencies.
These plans offer basic analytics. To unearth more data, subscribe to their Analyze plans.
There are two plans here: Pro ($35 per month) and Premium ($50 per month).
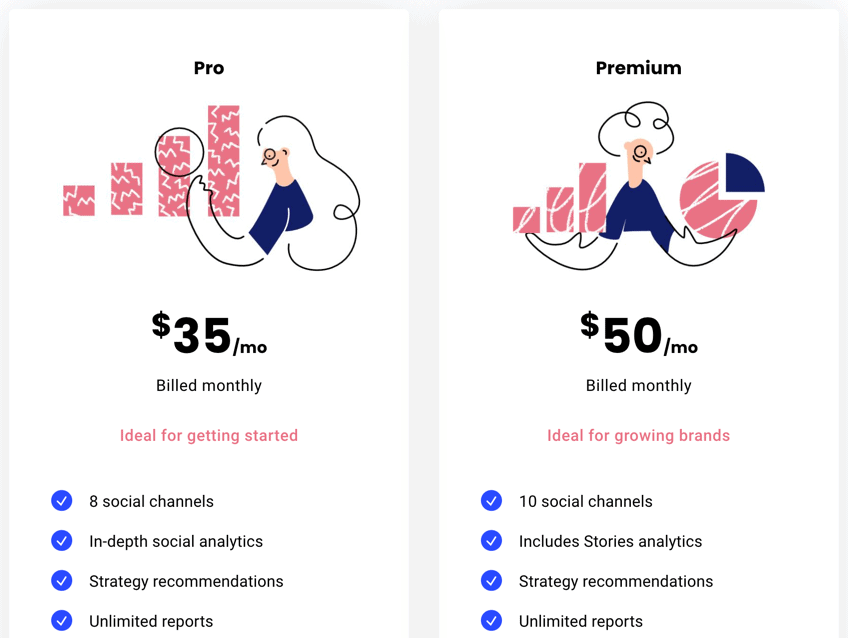
If you pay annually, you will get up to a 20% discount.
Core Features
Buffer has a lot of useful features. Here are some of the top ones I like.
1. Schedule Social Posts to Several Networks
You can schedule posts to various social networks with Buffer. These include:
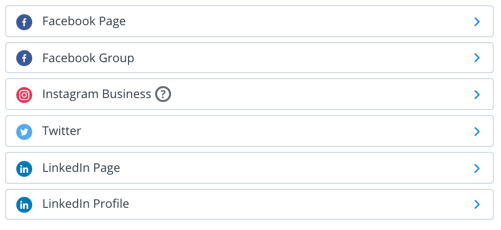
- Instagram: You can schedule posts to business accounts with Buffer directly from your desktop. You can’t directly schedule stories, but you can plan and set reminders, and you’ll receive a mobile notification when it’s time to share.
- Facebook: You can post to both Facebook pages and groups with it. But you can’t schedule posts to profiles. You could do this in the past, but Facebook has since changed what it allows.
- Twitter: You can schedule posts to Twitter accounts with Buffer. You can also add hashtags and tag other accounts while sharing.
- LinkedIn: You can post to both LinkedIn profiles and pages.
- Pinterest: You can add pins to Pinterest too.
Note: Instagram and Pinterest scheduling are only available with the paid plans.
2. Create Slots and Add Content
As I mentioned earlier, Buffer was the first to come up with the slots feature. It allows people to set time slots in advance. When you curate posts later, they get added to these time slots. There’s no need to set individual times for each post.
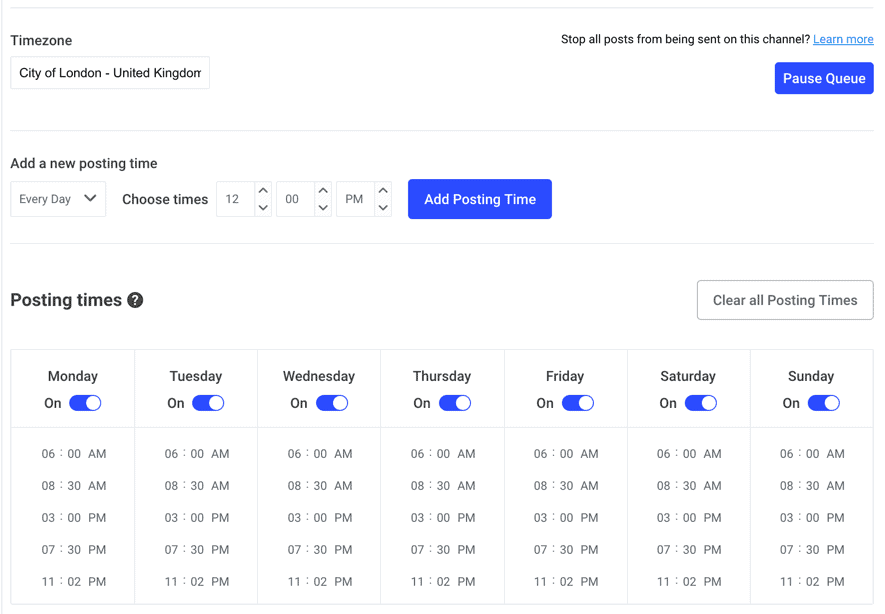
Buffer makes it easy to add content to these slots. You can directly upload content on their dashboard or use their extension. The extension will help schedule both links and images, and allows you to right-click on images on a page and upload them. Earlier, Buffer had the option to connect RSS feeds, but it removed it.
Note: You can schedule individual posts to go out at a specific time or immediately; you’re not limited to the slots.
3. Calendar View
A calendar view shows the posts you published and the scheduled posts queue. This feature makes it easy to fill up your social media calendar. If you find an empty spot, you can click it and add posts.
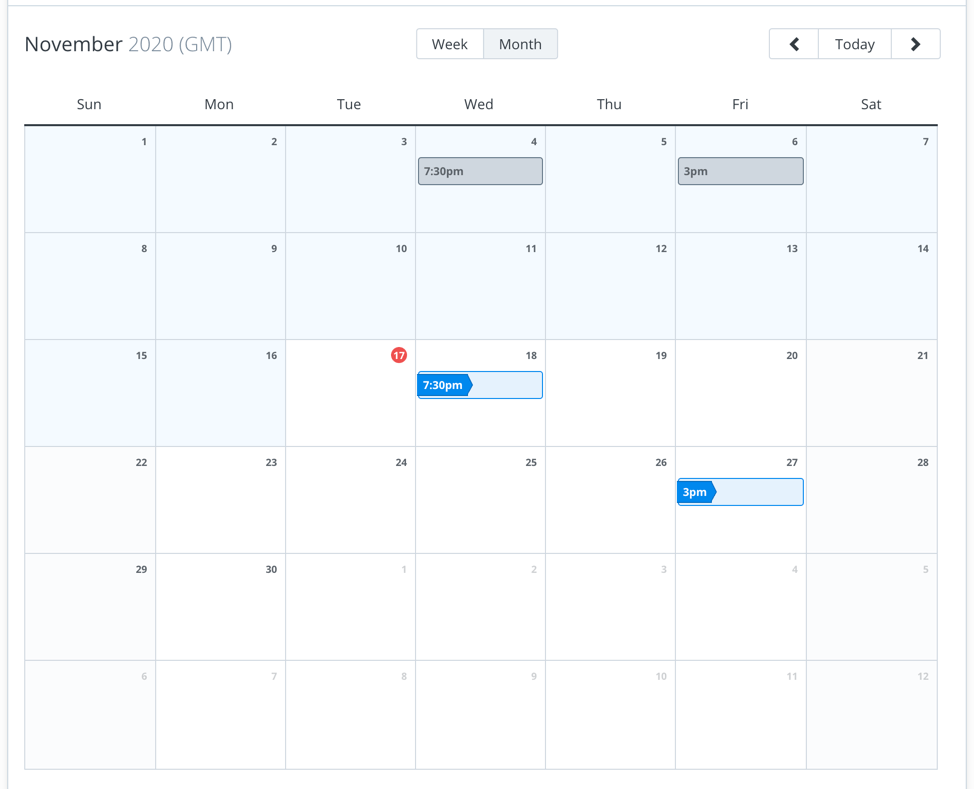
You can also drag and drop posts. It will copy posts into other spots.
4. Pablo For Image Creation
Buffer has a photo editor called Pablo.
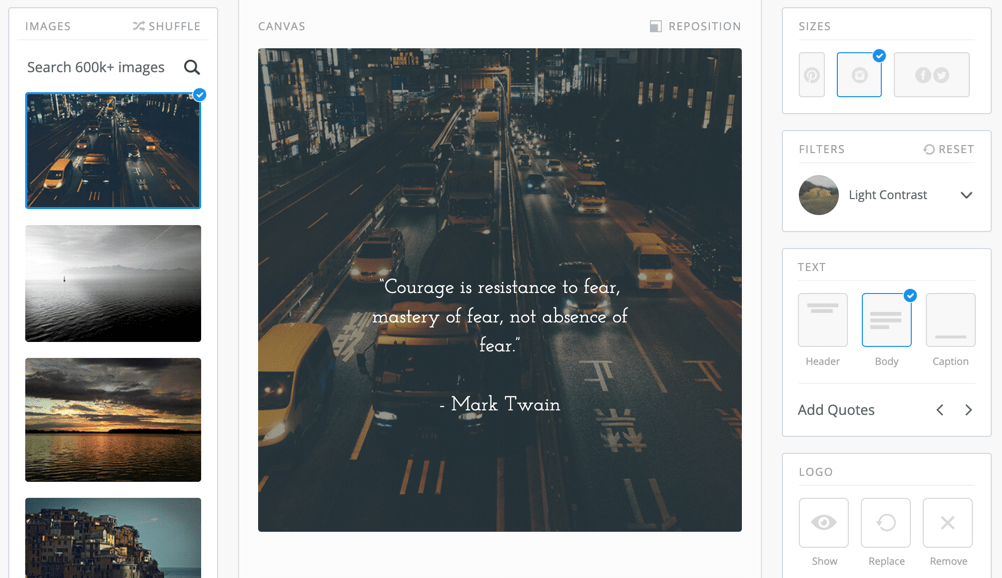
You can choose visuals from their library of 600,000+ images, set the size depending on the social network you’re creating the content for, and add your text and branding.
After that, you can directly schedule the image to social media with Buffer. You will love it if you create quote images, as you can pick quotes right from their dashboard.
Pablo is not as advanced as photo editors like Canva or PicMonkey, but it will suffice to create basic images.
Buffer also has an App called Remix. It’s an image editor for mobile users.
5. Instagram-Specific Features
Instagram is a bit different from other social networks, so Buffer created extra features, including first comment. A comment is automatically added to your post as soon as it goes live. Most people use it to add hashtags, as adding too many hashtags can make your posts look spammy. Hashtags can also distract users because of the presence of too many clickable things.
Adding hashtags in the comments will still increase your engagement while avoiding the drawbacks.

A shop grid helps drive traffic and sales. It enables you to create a special bio URL where the images in your posts appear, and you can add links that directly lead to the product.
6. Team Management
Buffer has team management features to help social media managers and marketers collaborate on projects, including planning content and posting schedules.
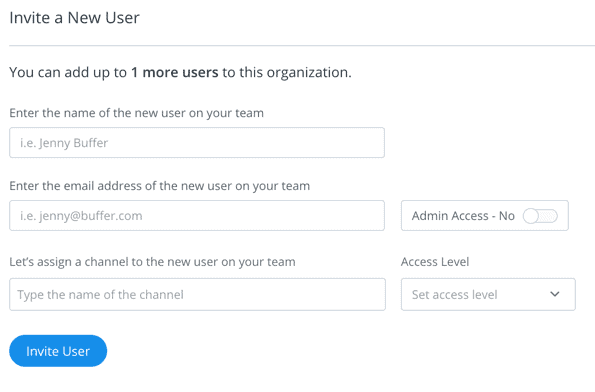
You can save the posts as drafts, and team members can offer feedback or approve them before scheduling.
7. In-Depth Analytics and Reports
The Buffer publishing plans offer basic social analytics. But if you purchase the Analyze plan, you get access to advanced analytics.
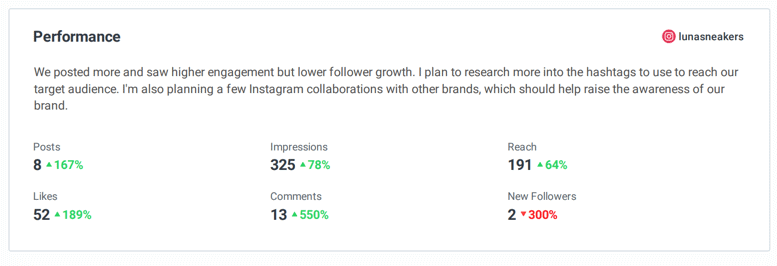
It will analyze various metrics such as audience demographics and compare different post types (videos, images, text, and links) to see which one performs best, as well as suggest the best posting times and frequencies.
You can create beautiful reports that contain all this data and share it with your team, managers, or clients.
8. Clean Interface
Buffer has a lot of wonderful features. But one of the reasons many people, including me, enjoy using it is its clean interface. Other tools have a ton of features, and the dashboard ends up looking very crowded. But because of Buffer’s simplicity, the interface is straightforward to navigate. You get a pleasant feeling while you use it.
9. Integrations
Buffer’s been there for a long time, and during this time, it has created many integrations. These include:
- Bulk.ly
- IFTTT
- Instapaper
- Mention
- Quuu
- SharpSpring
- WordPress
Pros and Cons
Here are some pros and cons of Buffer.
Pros
Easy to use: The main Buffer pro is that it is easy to use. If you’ve used a social media management tool before, you will quickly find your way around it. There’s no need to spend hours reading through their Wiki or chatting with support.
Flexible pricing model: Pricing is very flexible as Publish and Analyze are separate, and many plans within each — you can choose precisely what you want. Those with a tight budget can go with the free or Pro plan, while if you have a bigger budget, you can choose a Business plan and subscribe to an Analyze plan too.
Photo editor: Buffer’s photo editor, Pablo, makes it easy to create and schedule images from one dashboard. There’s no need to worry about whether your photo editor will integrate with your social media management tool.
Cons
Need to supplement with other tools: Buffer isn’t a complete tool. You can schedule posts and look at analytics, but you can’t view your incoming mentions, respond to comments and messages, engage with others’ posts, etc. It used to have a feature called Buffer Reply that helped with some of this, but it was removed. I got around this by supplementing it with other tools like Hootsuite (to view the feed) and Brand24 (for social listening).
Using these extra tools can add up and make it more expensive, but there are always free alternatives such as TweetDeck that you can try.
Instagram and Pinterest features are simple: Buffer has introduced some Instagram and Pinterest features, but they are very basic. To schedule to these networks, you will need separate advanced tools like Later or Tailwind. Again, this will end up costing more.
Quick Start Guide
Here’s a quick start guide to set up and use Buffer for social media management.
1. Sign Up For an Account
The first thing you should do is sign up for an account. You can’t sign up for the free plan immediately, but you can subscribe to a free 14-day trial for any of the plans. After this trial, you can choose whether to continue with the plan or downgrade to a free one.
It can be worrisome to sign up for a paid plan, but go ahead with it, as you can only use the Pinterest and Instagram scheduling features with the paid plans. You can try scheduling posts to these networks and the other paid features before deciding.
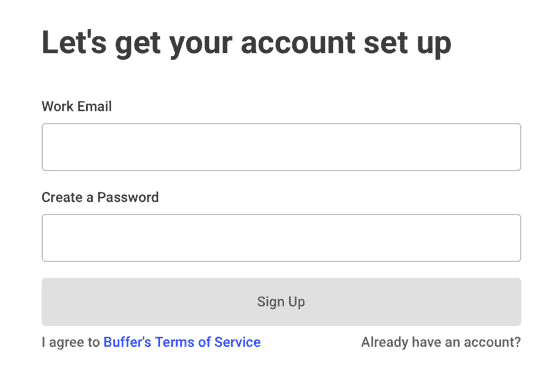
There’s no need to add your payment details while signing up for the trial, so you aren’t billed if you forget to downgrade.
2. Connect Social Media Accounts
Next, add your social media accounts. You can connect Facebook, LinkedIn, Twitter, Instagram, and Pinterest. You should connect all the social media you are active on as you should test the experience for each network.
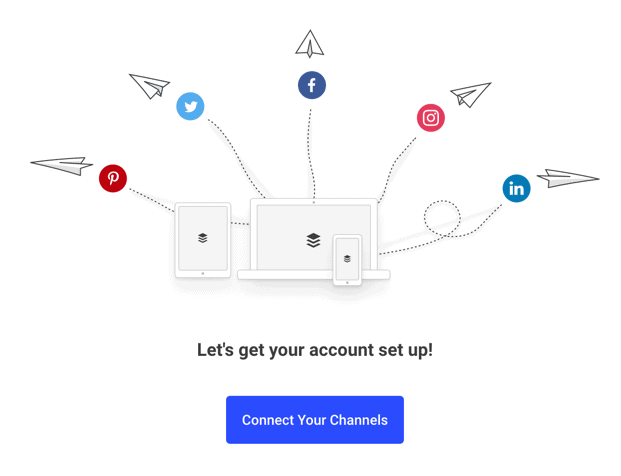
Connecting all of them should be easy, as you can do it right from your dashboard. It will take you less than five minutes.
After you add all your accounts, go to the “Settings” page of that social account on Buffer, then to “Posting schedule,” and add your time slots.
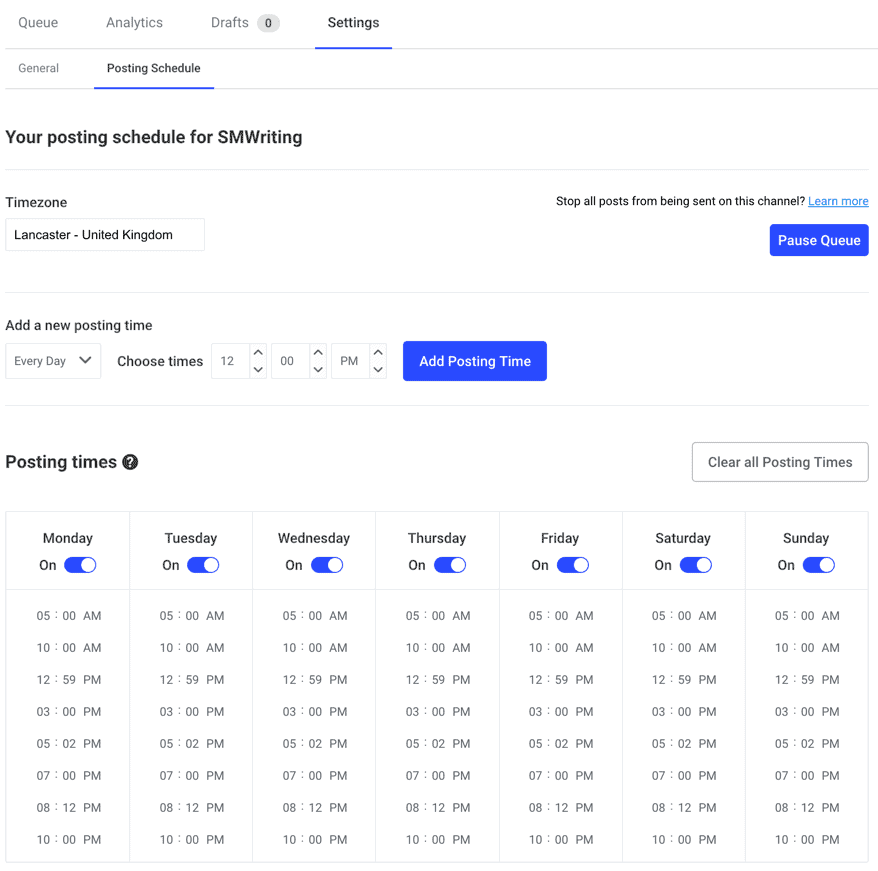
You can choose different times for different days of the week. This is useful as your best times to post will vary every day, and you might want to schedule more posts on the weekdays than on the weekends.
Also, go to the “Settings” page of the entire account, then to “Apps & Extras” and install the browser extension. It has extensions for Chrome, Firefox, Safari, and Opera.
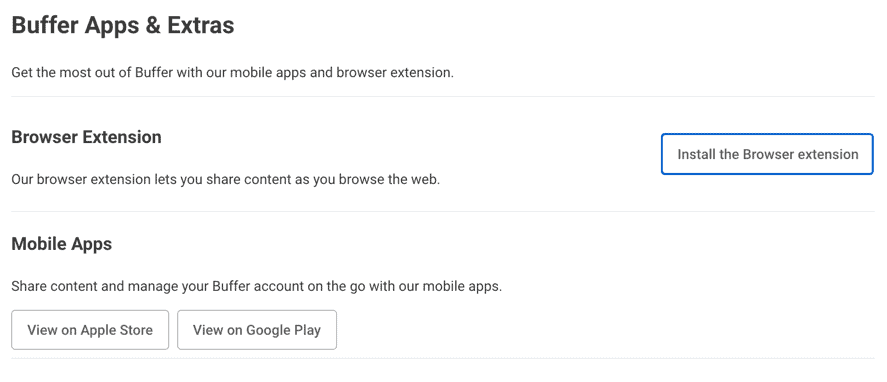
You might also want to install the apps. It has both Apple and Android apps.
3. Schedule Posts
Schedule your first post on the dashboard itself.
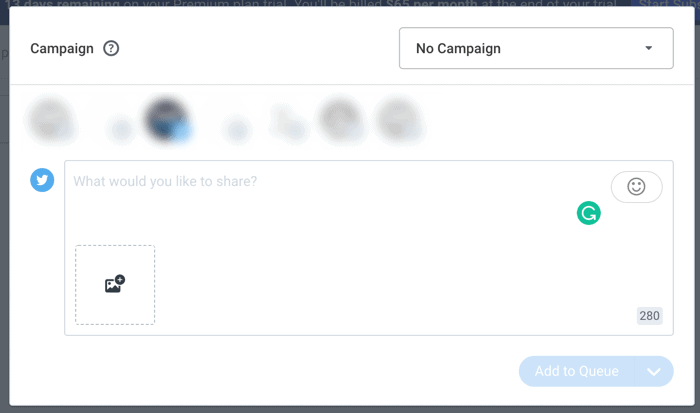
You can choose the social network, type in the content (text, hashtag, and tags), add links, and even add images.
If you want to share the page you are on, you can use the extension. Just click on it, and it will populate a post with the link and meta title.
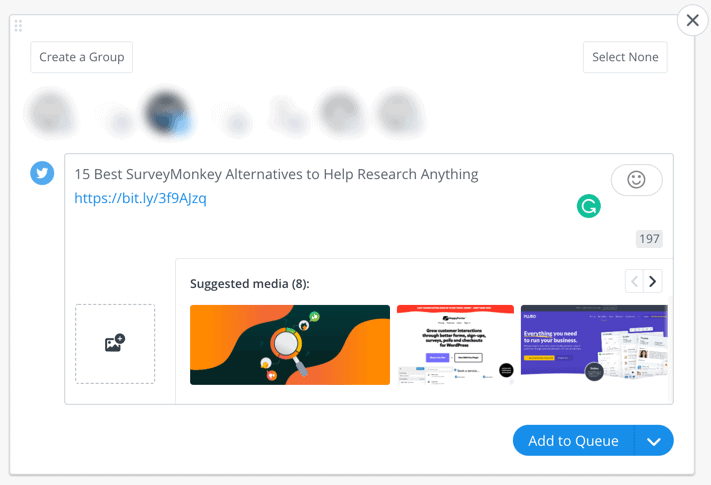
It will also pull media on the page, and you can add them with a click.
Another way to schedule a page you are on is by right-clicking, then choosing “Buffer this page.”
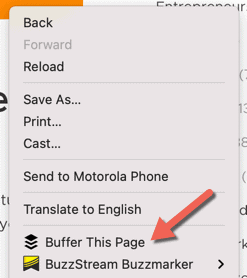
It will populate a post just like above. And if you right-click on an image, you can schedule that exact image or even import it to Pablo and make modifications before scheduling it.
4. View Analytics
You can visit the analytics of individual accounts to see how your posts are faring.
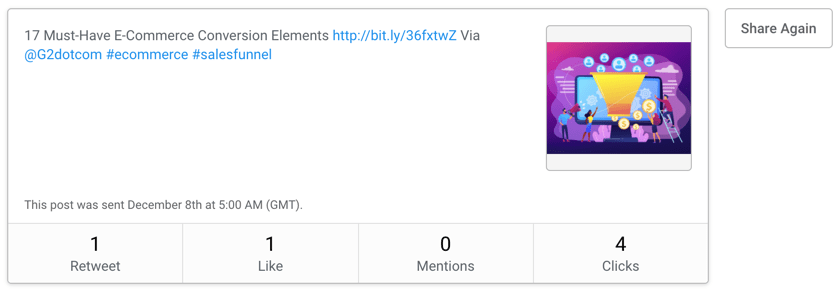
The data shown in the Publish accounts is minimal. I can just check the number of retweets, likes, reach, comments, shares, and clicks. If you want more data points, subscribe to Analyze.
Was This Buffer Review Helpful?
There are piles of social media scheduling and management tools out there. I have tried many of them, and each has its own unique superpower. Buffer’s superpower used to be the slot feature, but that feature is prevalent on almost every management tool these days.
Right now, Buffer’s superpower is simplicity. The learning curve is minimal. Anyone can understand how it works and build a workflow in a few minutes. Also, the clean interface gives a pleasant experience. This is why I keep going back to it, even though I have used more sophisticated tools.
The flexible pricing plan also makes it suitable for a variety of users.
The only problem with Buffer is that it lacks some essential features, and you will need to supplement with other tools. If you want to avoid this, it will be better to subscribe to alternatives such as Hootsuite, CoSchedule, Sprout Social, and Agorapulse. This can end up costing more, as some of these tools are priced higher than Buffer.
To get a social media tool with more features for a fraction of the price, check out the AppSumo store. We regularly have lifetime deals for top social media tools.
